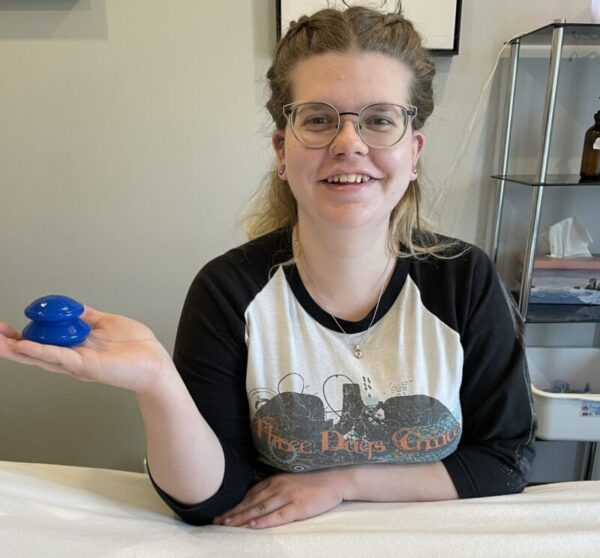
Physiotherapy for a Child: Is This Treatment Right for Yours?
By Devan Mercereau, Physiotherapist
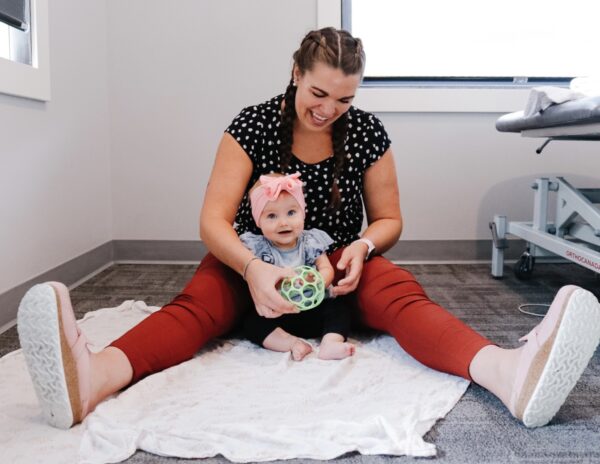
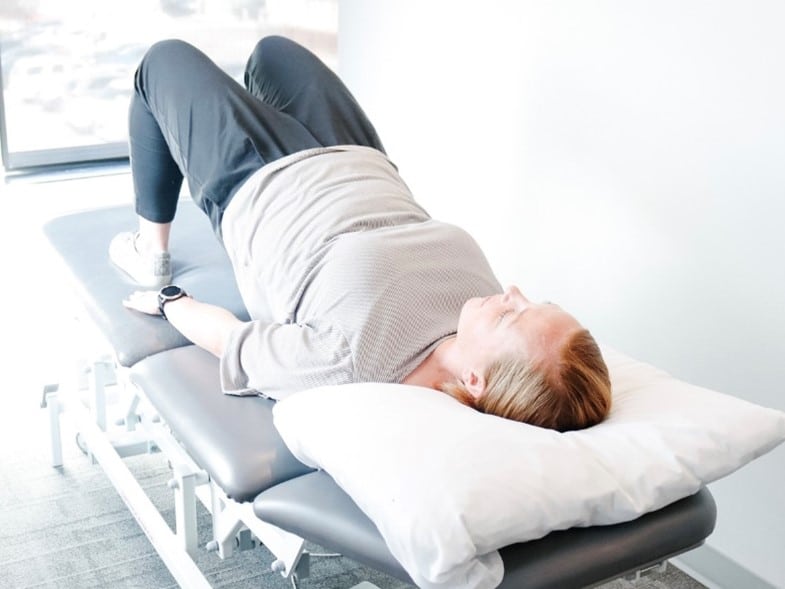
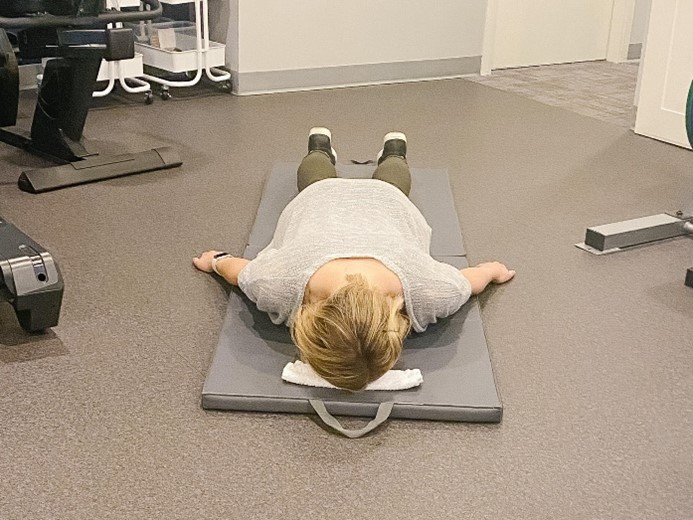
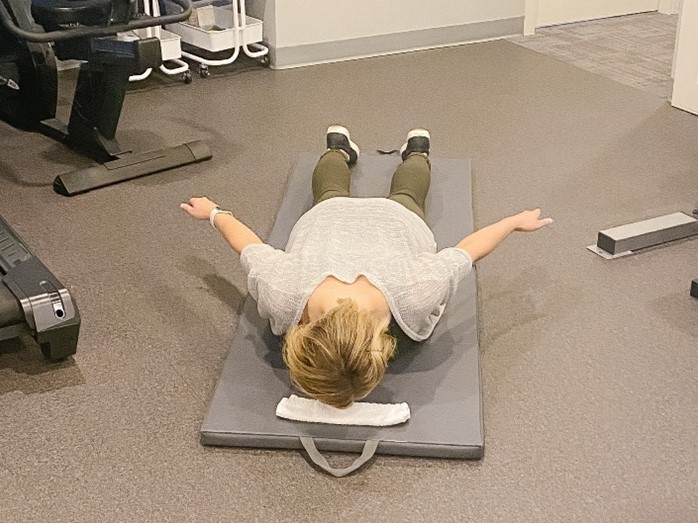
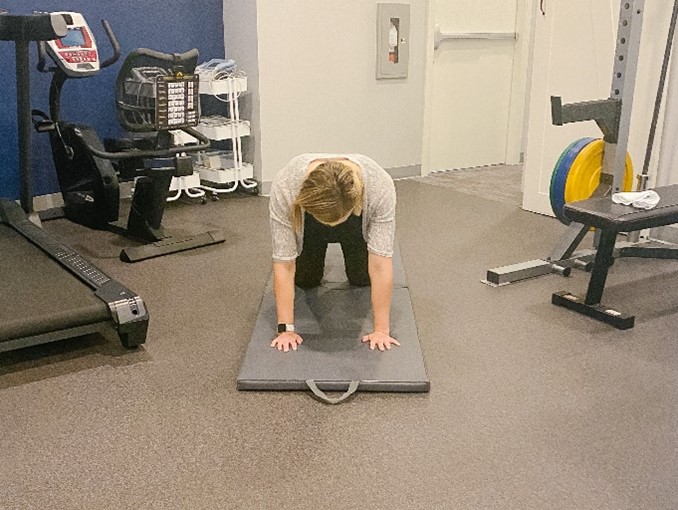
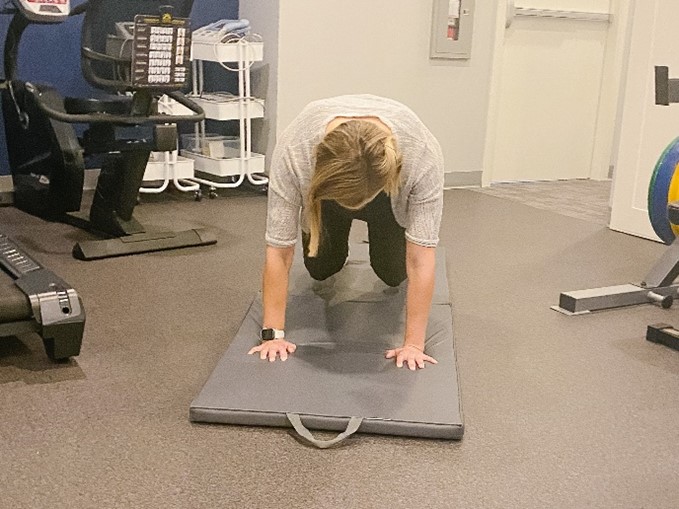
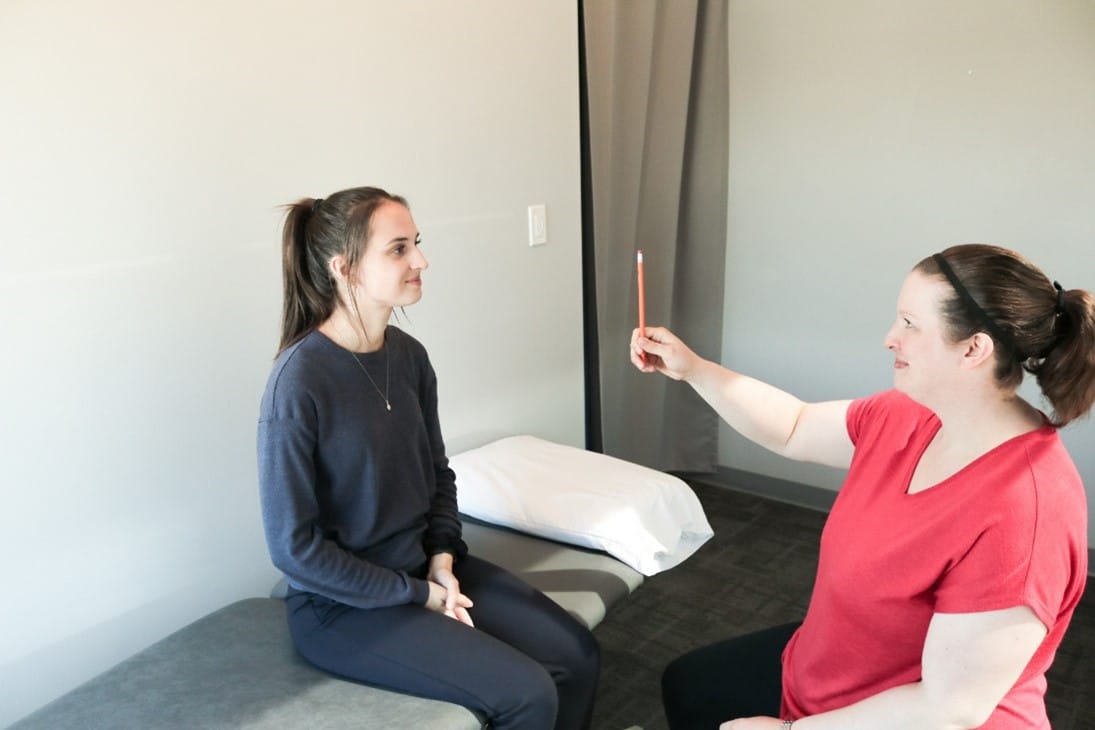
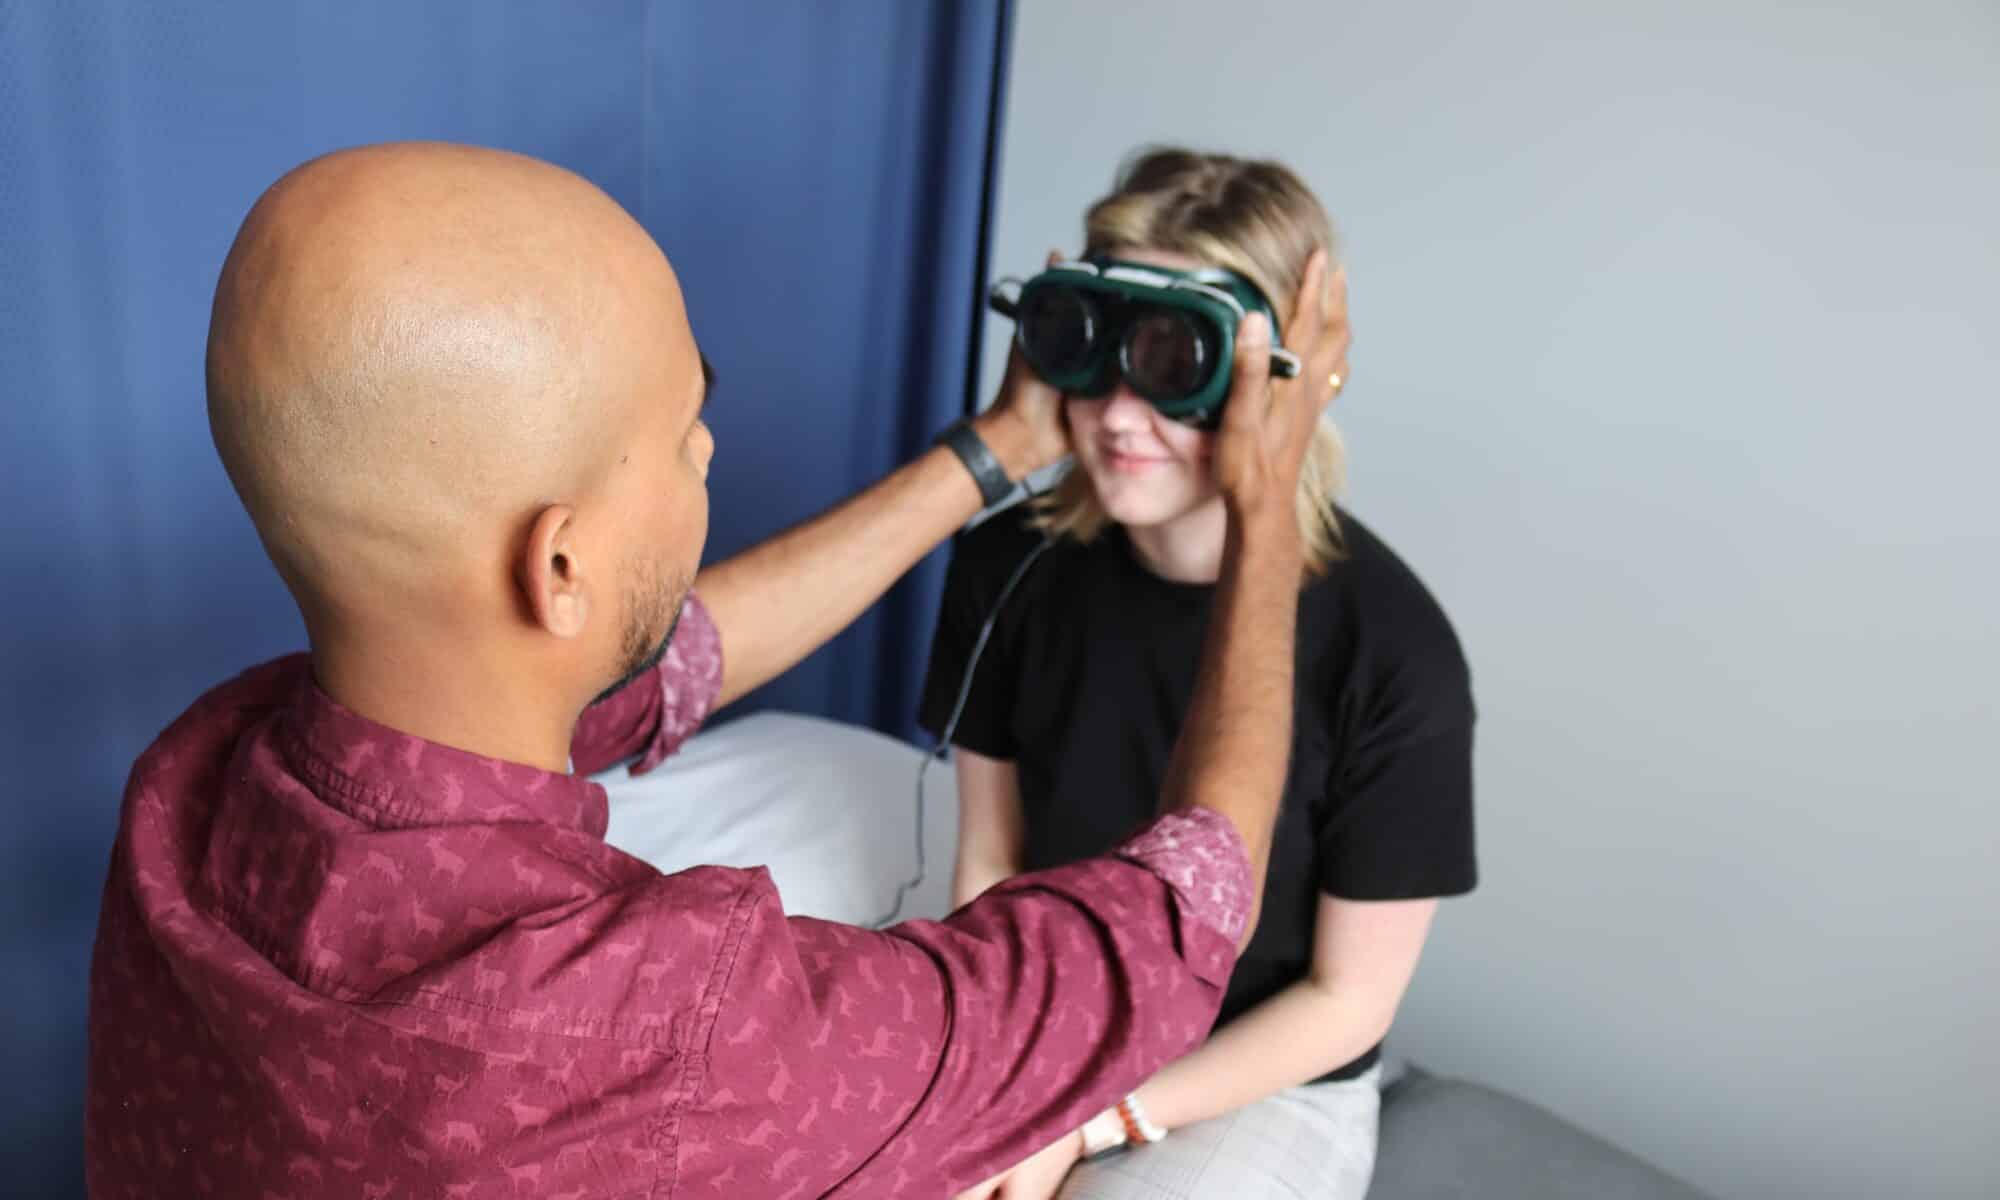
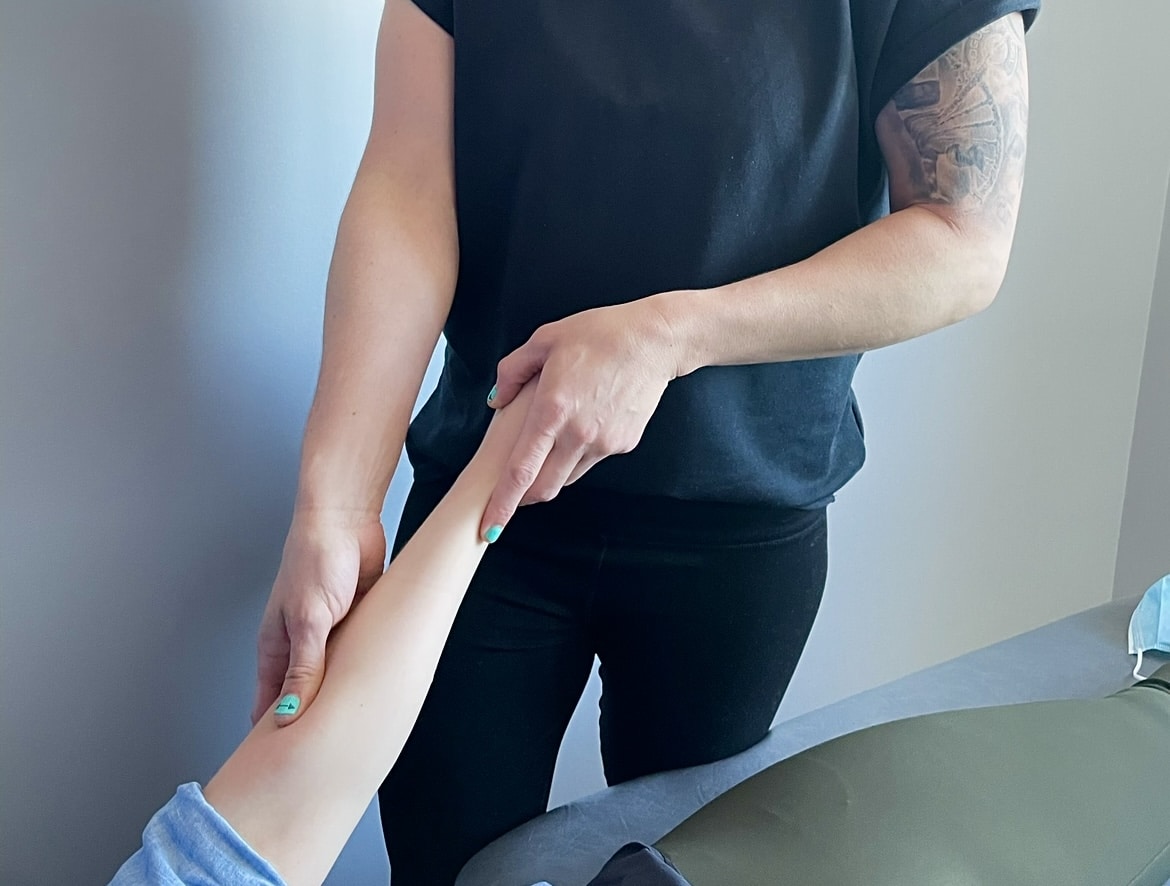
Physiotherapy for a child is more common than you think! This is often called “Paediatric Physiotherapy.” It assesses and treats children ages 0-18 years old. At Stride, our treatments for infants and children vary depending on their conditions and concerns. Your Paediatric Physiotherapist will go through a full assessment with your child and then based on the diagnosis, choose a treatment. Possible treatments include:
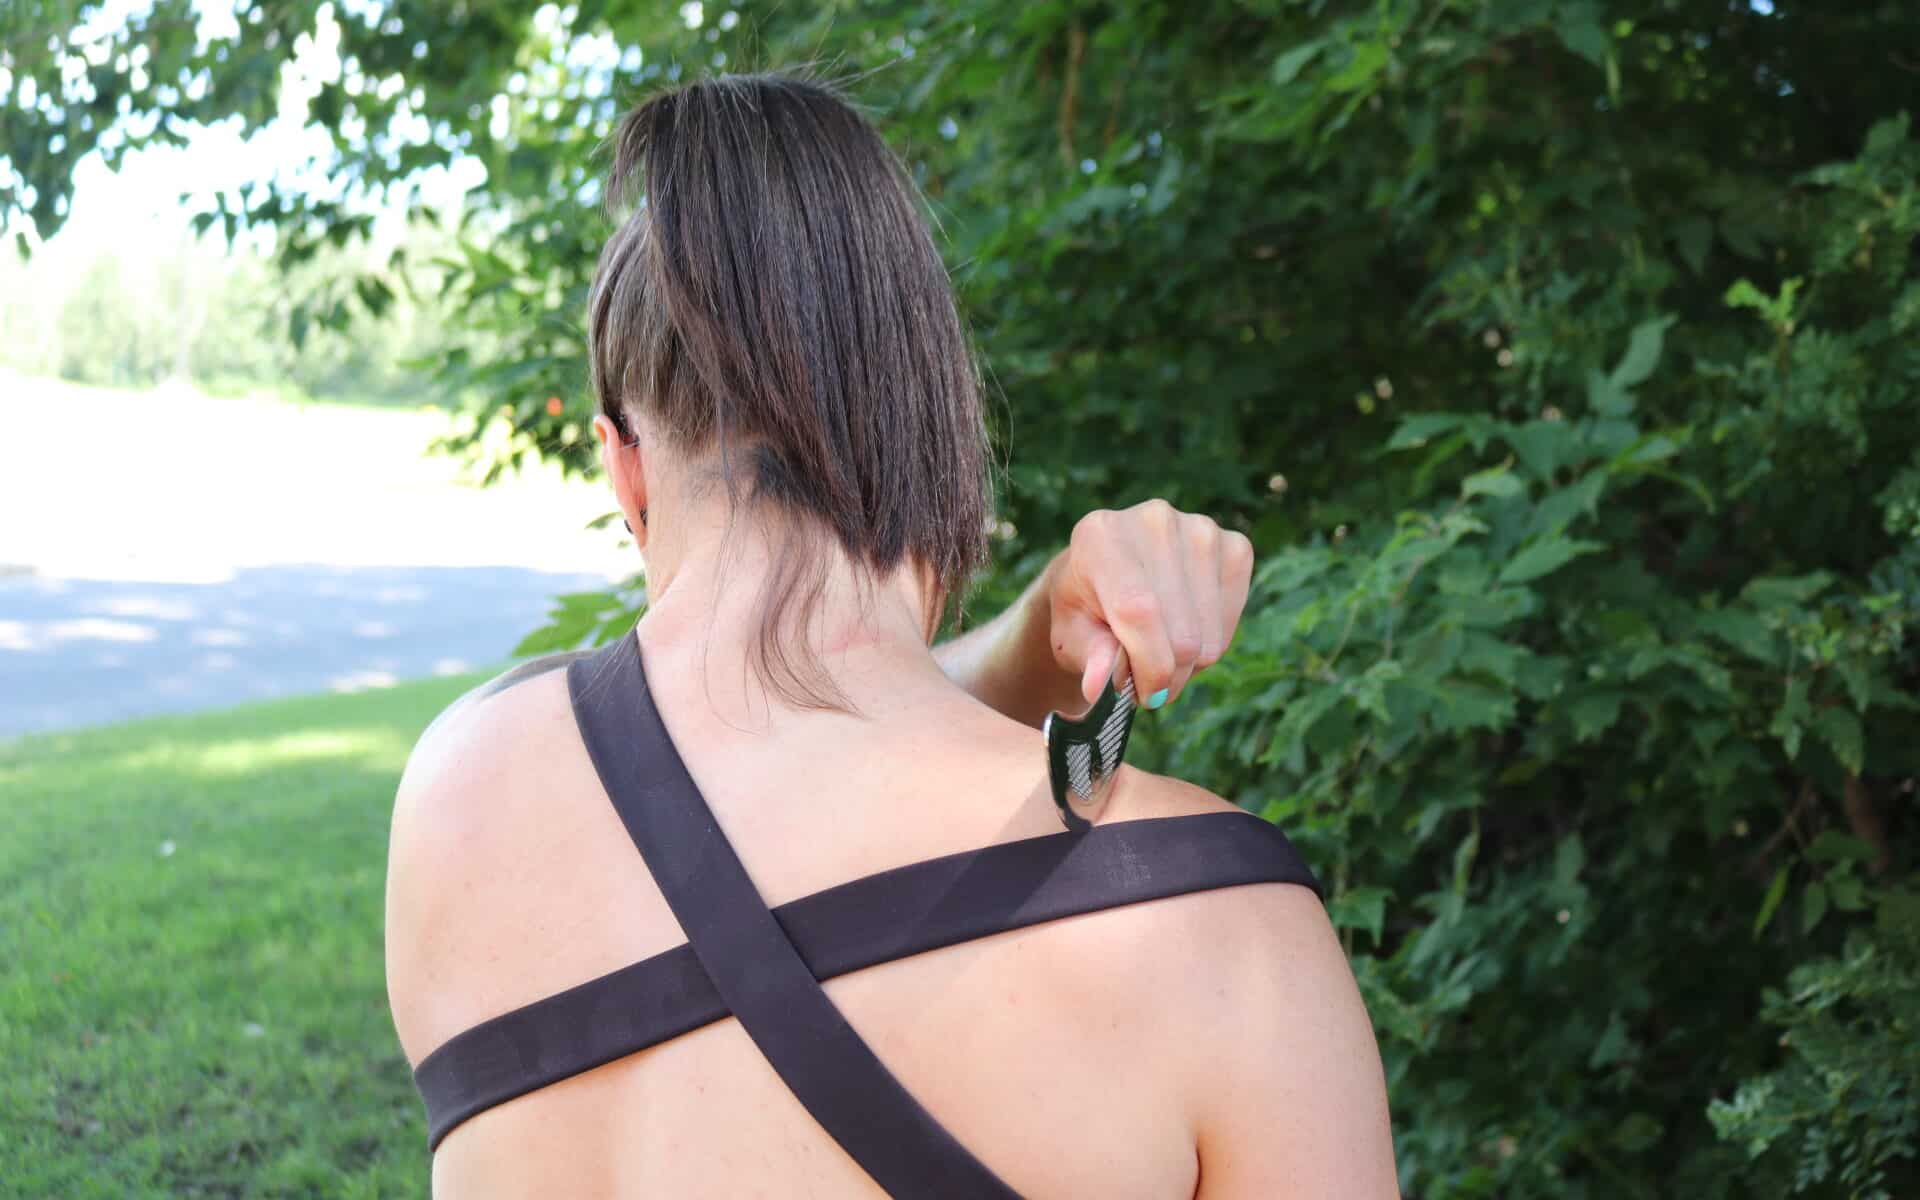
- Soft tissue work
- Facilitation of movements and positions
- Alternative strategies to increase the efficiency of movements
- Taping
- Modalities
- Plenty of education
Signs Your Child May Need Paediatric Physiotherapy
Let’s take a closer look by breaking the age groups down into infants, toddlers, children, and teens:
How Do You Know If Your Infant Needs Physiotherapy?
Physiotherapy for a child is not just for them, but also for their parents! Throughout the first year of life, there are a lot of changes infants go through. The developmental milestones are important at each stage to help with ease of movement, increase independence, and improve coordination later in life. So why might you choose physiotherapy for a child? Some reasons may include:
#1: Developmental Delay
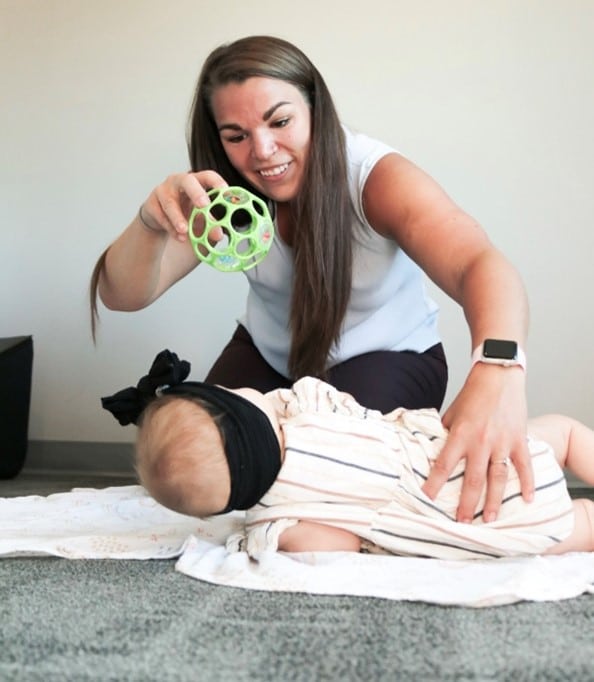
If you are noticing that your infant is behind on their milestones, or is “stuck” at a stage, Paediatric Physiotherapy can help! As a reminder, here is a link to the developmental milestones that most infants hit within the first two years of their life. Milestones that physiotherapy can help with include:
- Holding their head up
- Rolling over
- Sitting
- Crawling
- Standing and walking
Along with developmental delays, babies sometimes favour one direction or position over another. For example: rolling in one direction, preferring propped sitting, decreased tummy time tolerance, and more. It is important to help facilitate infants in all positions and direction, which will increase body awareness and coordination.

If you are noticing any of these things with your child for more than 3-4 weeks, your child’s physiotherapist can help with strategies that aim to facilitate movements. As a result, you can learn more about how to help your child at home.
#2: Head Shape
Are you noticing flattening on the back of your child’s head, or on one side? This is often from the infant spending more time on their back or laying on one side a lot. For this purpose, you should seek advice from a physiotherapist around the 3-4 month age to help with alternative positioning and education.
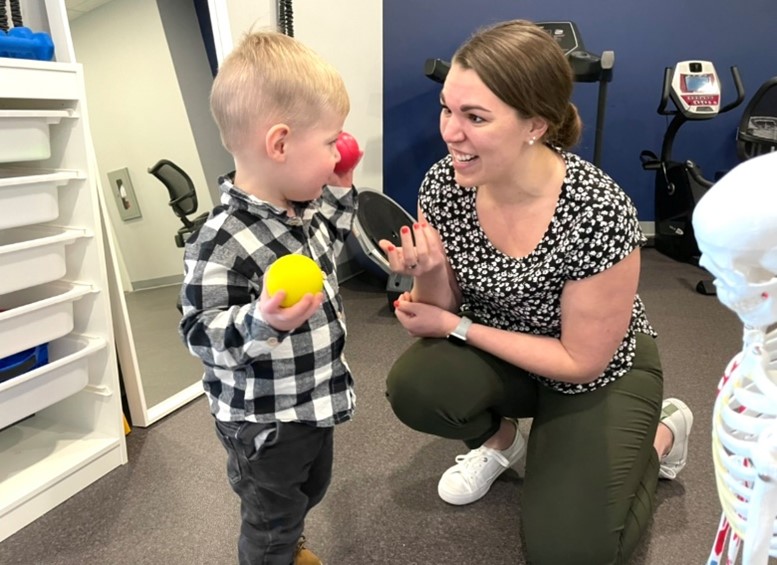
When Should Toddlers and Children See a Physiotherapist?
Toddlers and children can be clumsy and uncoordinated. Knowing this, it’s important to look at the overall alignment of limbs, strength, and coordination of movements. To do so, pay close attention to how your child plays, walks, runs, and skips. If you have any concerns with the above, especially for 3 months or longer, seek a physiotherapist for your child. If you notice your child displaying atypical patterns more than 20% of the time, or has troubles with constipation or bedwetting, these are also good reasons to seek a physiotherapist.
School Age/Teens
Paediatric Physiotherapy can help with a lot of things for school-aged children and teenagers. Our physiotherapists can help with general injuries, sports related injuries, and age or growth-related conditions.
#1: General Injuries or Sports Related Injuries
It is important to address injuries in childhood and adolescence to help decrease compensatory patterns as we age. A compensatory pattern is basically when your child relies too much on one limb to make up for the lack of functioning in another. By rehabilitating these injuries early on, your teen’s body can move more efficiently over time.
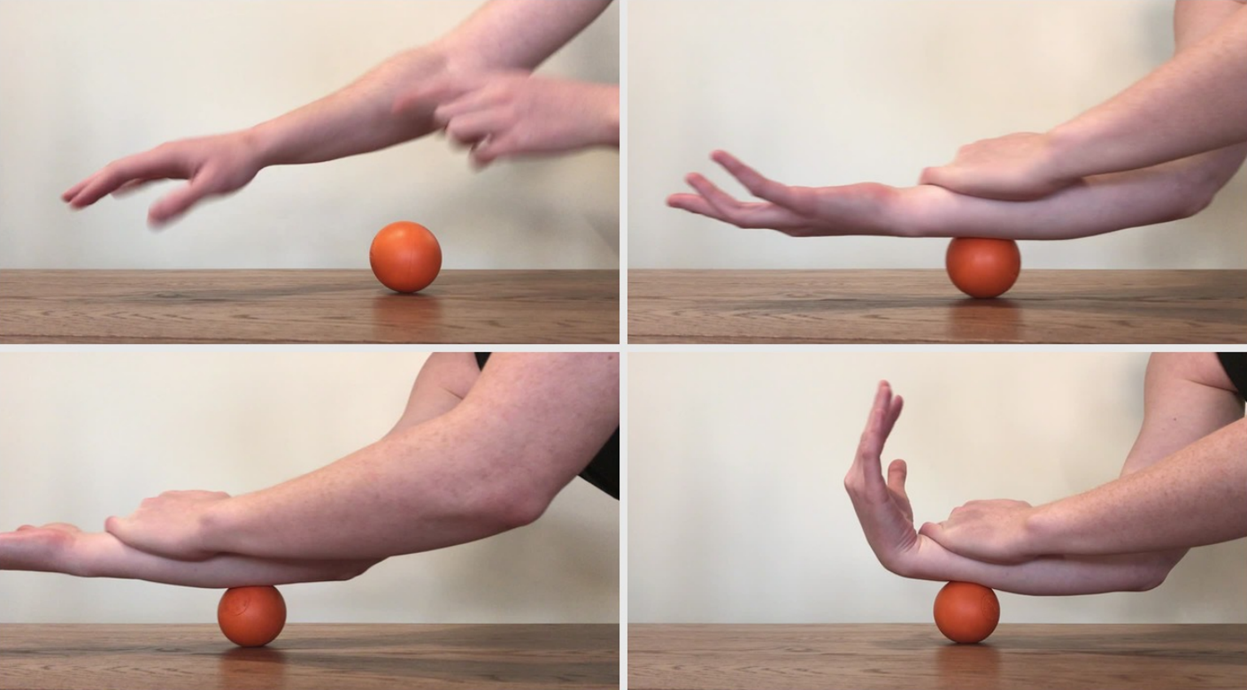
If your child has an injury or complaint, see a physiotherapist! They will use non-invasive treatments, such as soft tissue work, modalities, and exercises.
#2: Age and Growth-Related Conditions
If your child is complaining of targeted pain in the heel or just below the kneecap, these can be growth-related conditions. Two of the conditions we look at are Sever’s Disease or Osgood-Schlatter’s. By determining the cause of pain, we can help decrease pain and improve function through specific exercises and treatment.
If you have any questions about trying physiotherapy for a child, click here to book online with one of our physiotherapists. We are happy to help your child through treatments just for them, whether they are an infant or budding athlete!


