7 Remedies for Jaw Pain
By: Julia Towers, Physiotherapist
Jaw pain can be a real struggle! Some of our most important and frequent activities require the use of our jaw. This includes talking, eating, yawning and facial expression, just to name a few. I see many patients in the clinic for this issue, so let’s discuss seven remedies and helpful tips to help if you’re experiencing jaw pain.
What is the TMJ?
Our jaw is synonymous with the term temporomandibular joint (TMJ). It is the joint between the skull (temporal bone) and our lower jawbone (the mandible) on either side of the face. Within these joints lie small discs that protect the bony surfaces and allow for smooth movement. Sometimes, when this disc shifts, it can cause popping or clicking. If it becomes stuck, the disc may cause locking of the jaw.

TMJ dysfunction can cause pain and tenderness in the jaw or cheek, tension in the neck, headaches, difficulty opening or closing your mouth, and clicking or locking in your jaw.
What Causes TMJ Pain?
– Grinding or clenching of the teeth
– Poor posture
– Muscular tension
– Increased stress
– Mask wearing
– Arthritis
– Uneven bite/dental issues
Top 7 Tips or Remedies for Relief:
-
- Self-release of the masseter muscle: This is one of the key “clenching” muscles in the side of your cheek. To release your muscle, use your finger or knuckle to apply pressure from your cheekbone. Angle down towards your jawline, simultaneously opening your mouth slowly. Alternatively, massage the muscles just in front of your ear in small, circular motions for relief.
- Be mindful of your posture: Sit up tall and tuck your chin in, so that your ears are in line with your shoulders. Then, pull your shoulder blades back and down.
- Wear a mask that fits well and breathe through your nose whenever possible: If your mask is too tight or loose, you may find yourself wiggling your jaw to keep it in place. Breathing through your nose allows your jaw to relax.
- Explore some stress reduction techniques: Whether it be meditation, yoga, or deep breathing, reducing stress will allow the neck and jaw to relax.
- Avoid foods that are hard to chew during flare-ups: Things like gum, tough meats, and hard candies can hurt the jaw. You can cook some of these hard foods in different ways to soften them. You can also reduce them to smaller pieces before consumption.
- Consider talking to your dentist: Your dentist may be able to recommend a custom mouthguard/retainer, or refer you for Botox injections in appropriate cases. Botox is used to help relax the muscles around the TMJ.
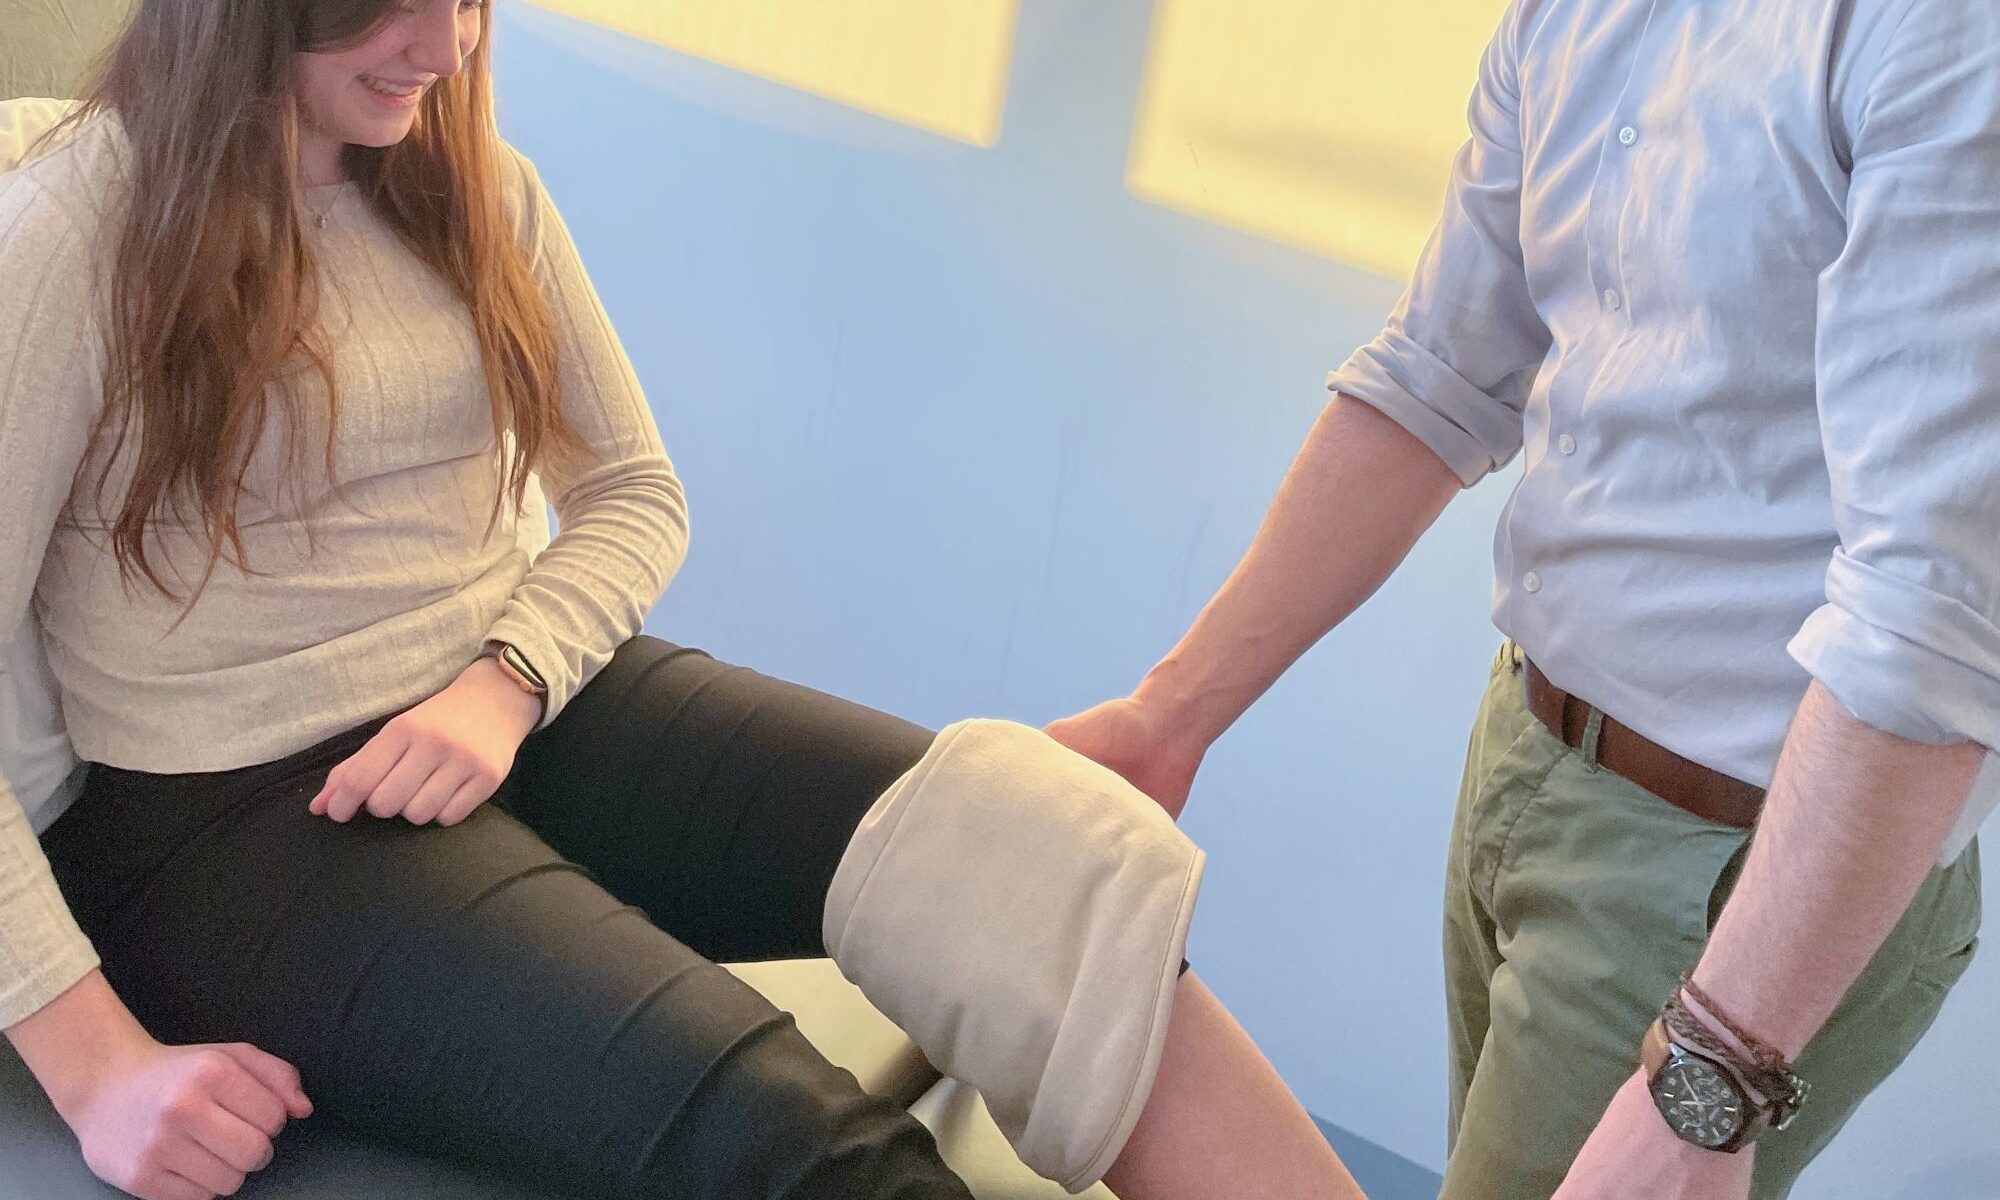
- See your physiotherapist: Having your jaw assessed allows us to determine the best course of action for you! When the jaw is examined, then we can prescribe specific exercises and manual therapy to address your issues.
In Conclusion…
If you need more information about the TMJ, or you’re experiencing jaw pain, give our clinic a call today! Additionally, you can book online with one of our Physiotherapists by clicking here.