The Proper Squat Form: Learn How to Do it Right!
By Eric Walper, Physiotherapist
I’m excited that you’re ready to take your mobility and strength to the next level, and learn the do’s and don’ts of a proper squat. Often referred to as the holy grail of exercises, the squat is a time-honored functional movement that will help prepare your body for daily functions. So to get started, learn the proper squat form!
Want to jump higher? Squat. Get off the ground easier? Squat. Pick up your kids without pain? Squat. It’s safe to say that when it comes to rehabilitation, a squat often finds its place in just about every physiotherapist’s wheelhouse.
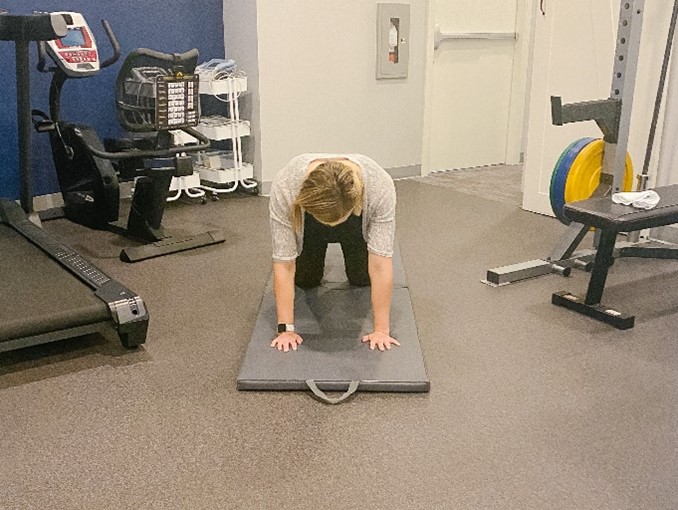
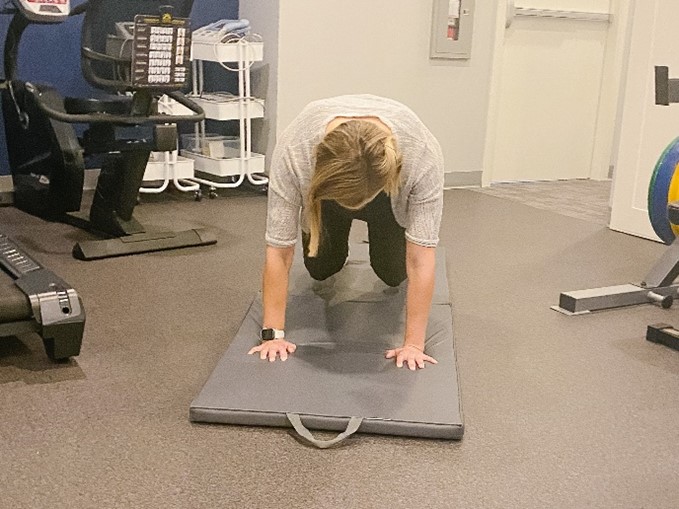
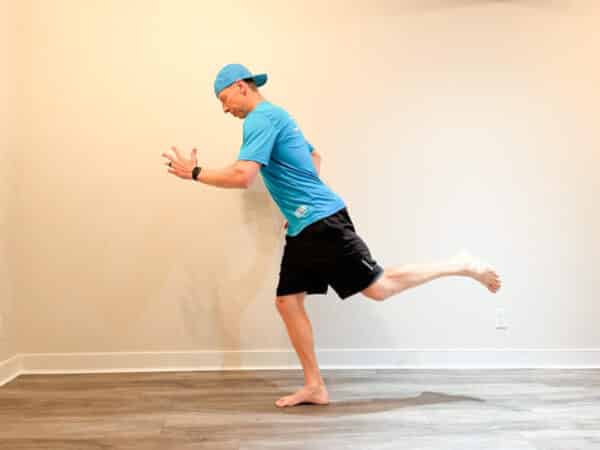
Starting Point: The Body Weight Squat
While weighted squats are great for developing strength, there is no need to be intimidated by the movement. It’s important to have proper form for a bodyweight squat first.
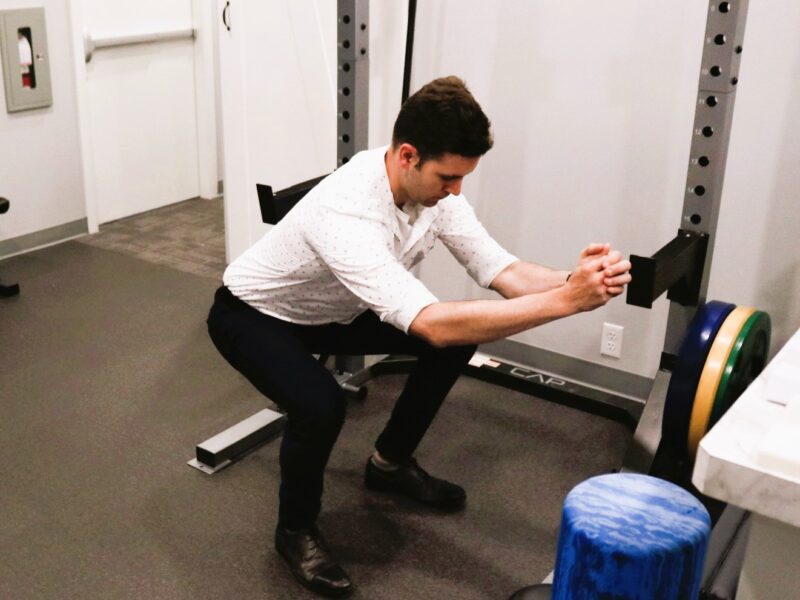
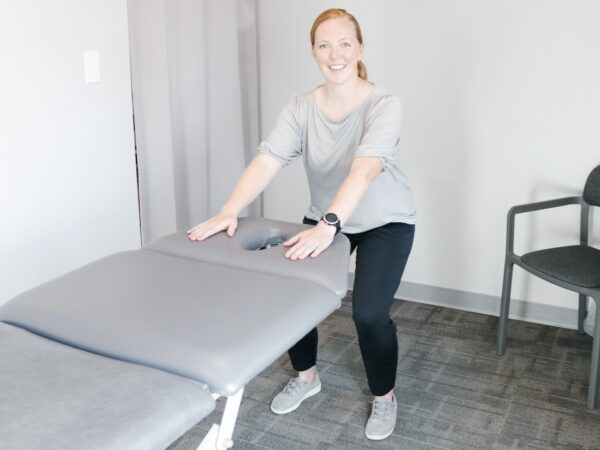
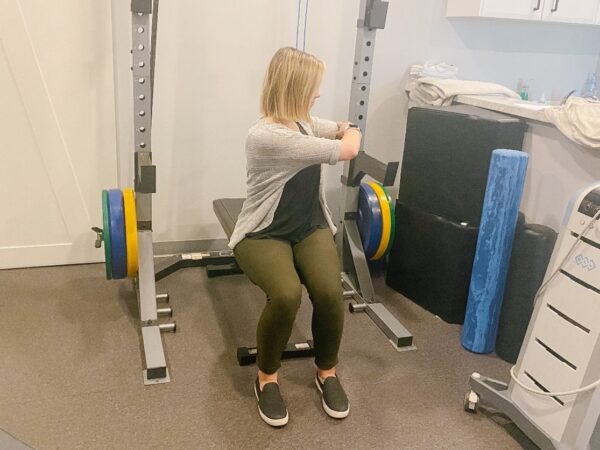
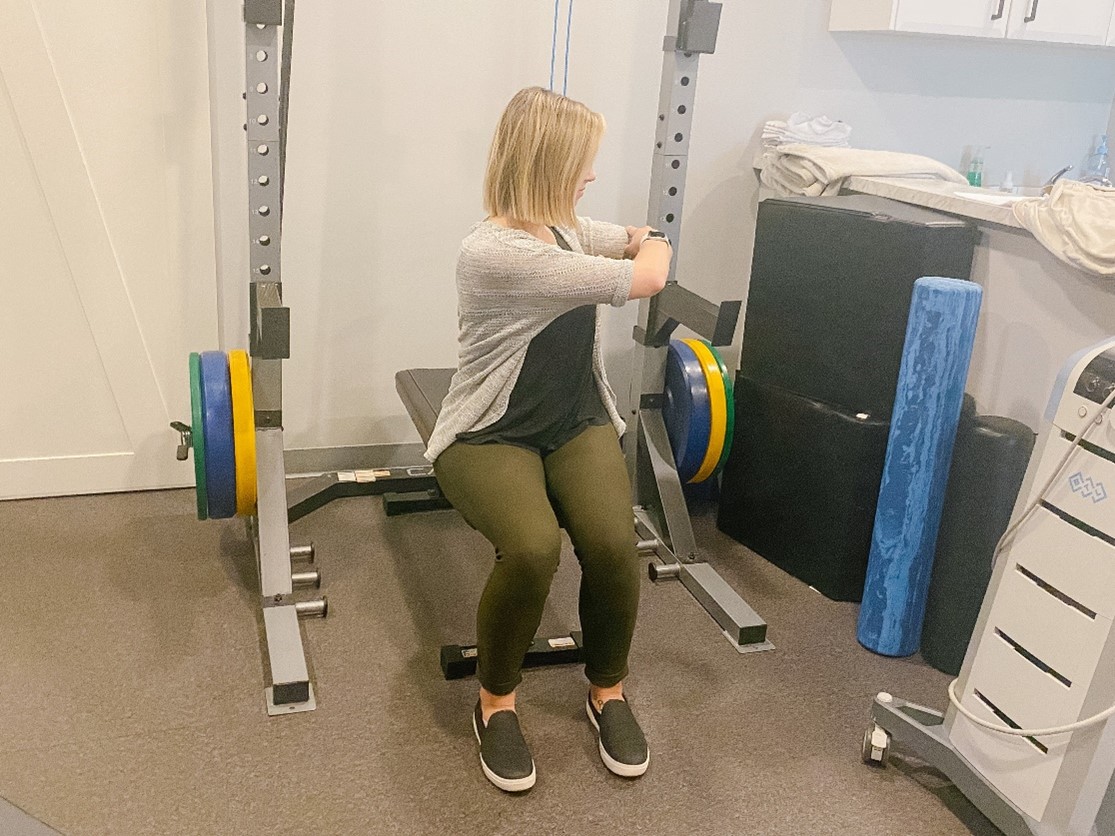
How to Complete a Bodyweight Squat
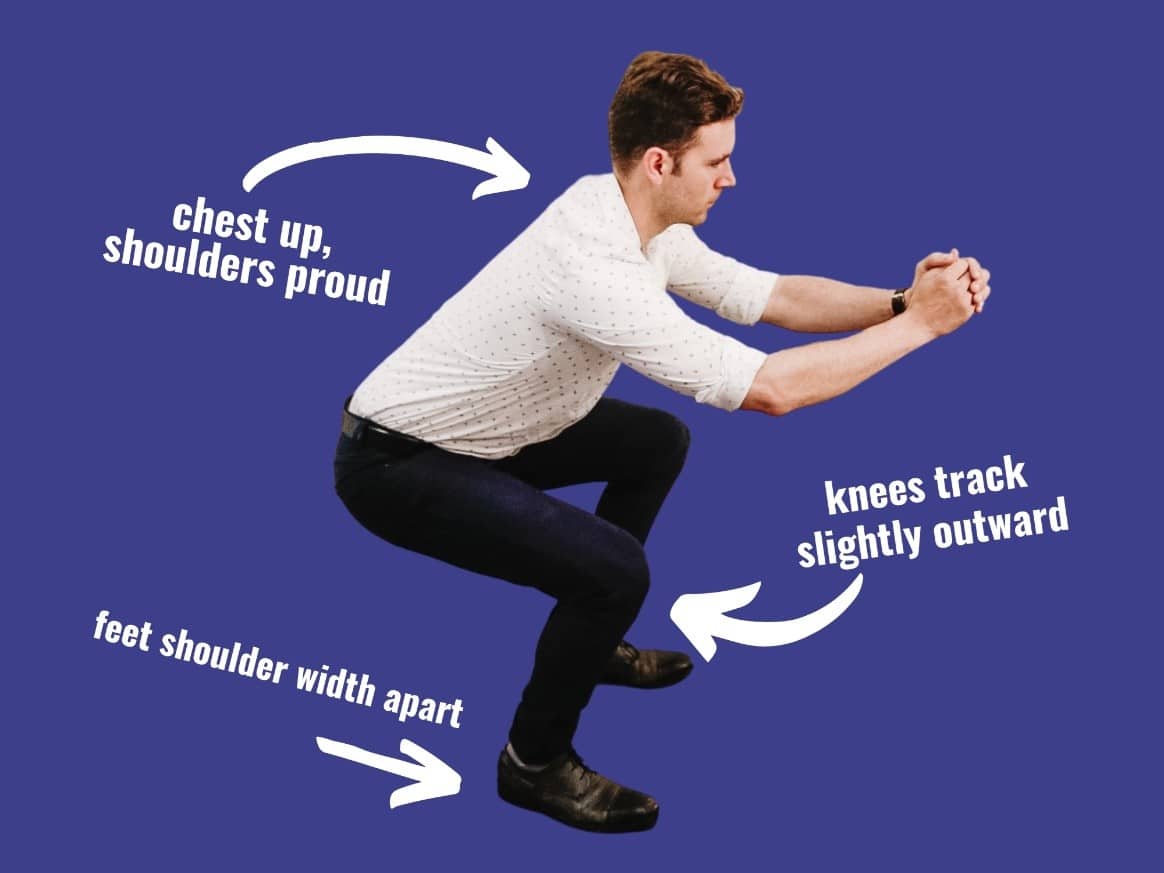
- Stand with your feet shoulder-width apart with your arms resting at your sides.
- Brace your core and keep a proud posture. (Shoulders back and chest up). When in posture, begin pushing your hips back and bending your knees as if you’re going to sit down in a chair. Ensure your knees do not cave in, and that they do not travel too far forward past your feet.
- When your thighs are parallel to the floor, or you have reached the lowest comfortable position without breaking form, pause.
- Push up evenly with both feet against the floor, drive your knees out, and return to the starting position. After a brief pause, you can repeat the exercise.
Common Mistakes to Avoid with Squat Form
- Avoid letting your knees cave in: Always make sure your knees are traveling toward or slightly outside your feet, and not any further.
- Avoid allowing your knees to move over your toes excessively: Initiate the movement with the hips, and imagine you are sitting back on to a chair to avoid your knees traveling over your toes.
- Avoid lifting your heels: This is often an indicator of poor ankle and hip mobility. Do not let your heels lift off the ground. If you find your heels lifting up, feel free to seek some treatment from one of our physiotherapists by clicking here.
There you have it; the ABCs of a proper bodyweight squat. What are you waiting for? Stand up and give it a try! Remember, the bodyweight squat is an essential movement that paves the way for all other squat variations including barbell squats. When you keep your form, your squats will be effective!
Still have questions? Book an appointment with me at Stride in Red Deer by clicking here! As a result, you can build your squat strength and improve your technique!


