What Should You Do After a New Injury?

What Should You Do After a New Injury?

By: Eric Walper, Physiotherapist

As a Physiotherapist in Red Deer, one of the first and most common questions we address with our patients is what they can do after an injury occurs. When you experience a brand-new injury, but don’t need the emergency room, we implement our favorite principle: PRICE. PRICE is an acronym that stands for “Protect. Rest. Ice. Compression. Elevation.”

PRICE starts you on the right path for recovery. Below is some more information about each phase:

    1. Protect: To brace, wrap or prevent excessive force or load going through the affected area.
    2. Rest: To avoid using the affected area for any form of performance or functional use.
    3. Ice: Intermittent ice or cold therapy to prevent excessive swelling and discomfort.
    4. Compression: Once appropriate, light compression to help prevent excessive swelling.
    5. Elevation: When able, elevation of the affected limb to avoid excessive swelling due to gravity.

PRICE is a tried-and-true method that is easy to both remember and understand. Injuries typically follow a predictable recovery that goes through three phases of tissue healing. The timing for when a patient progresses beyond the PRICE model will depend on where they are in the healing process.

Phases of Healing:

Phase 1: This is the acute phase of tissue healing, and typically lasts 4 to 5 days after the point of injury. During this period, PRICE is almost exclusively used without manual therapy or exercise. This is to allow the body to experience the full scope of the injury.

Phase 2: This is the subacute phase, and it lasts from day 5 until about the end of week 2. During this phase, your swelling and inflammation will decline. As they decline, we gradually introduce movement and activity. This is when physiotherapy comes in. Treatments include manual therapy, modalities, and light exercise. At this point in time, we will also begin to administer heat. Heat is an effective pain control strategy, and is also useful in promoting circulation, for the goal of healing your tissue. Heat usually replaces ice relatively early in our treatment of injuries.

Phase 3: This is the remodelling phase. Phase 3 focuses on you regaining full range of motion and improving your strength through exercise. It is important to note that following injury, you are susceptible to re-injury for several months. During this time, your body will continue to remodel and strengthen scarred tissue to its previous functional capacity.

In general, we have recovery timelines to help us know what to expect during recovery. Even so, we can’t guarantee when an injury will recover enough for you to return to regular functioning. Everyone is different!

Since no two injuries are the same, it is important to seek the opinion and care of our physiotherapy team. They can help you to make safe, educated decisions. Click here to book an appointment online, or give us a call to get started on your recovery journey!

3 Tips to Prevent Common Snowboarding and Skiing Injuries

3 Tips to Prevent Common Snowboarding and Skiing Injuries

By Blake Goehring, Physiotherapist

Being active and getting outdoors has been a wonderful escape from the restrictions surrounding the COVID pandemic. The last thing you need are skiing injuries or snowboarding setbacks. As the time to hit the slopes draws closer, seize every minute of this upcoming ski season with our tips below!

Tip #1: Protect your Head

Concussions are among the most common injuries experienced from skiing and snowboarding. This makes perfect sense! Fast downhill speeds combined with a snow and ice mixture are not the best ingredients for a soft landing. Like “one strapping” a backpack, skiing and snowboarding without a helmet has become an outdated practice. Most people on the hill are safety conscious.

Our tip: Wear a helmet! Ligaments and muscle injuries heal quickly but your brain does not. Helmets significantly decrease trauma to the head during a crash and they also work great to keep those ears warm on chilly days!

Tip #2: Wrap your Wrists

Wrist injuries are the most common upper extremity problem associated with snowboarding. Poles assist skiers with their balance and ability to stay on their feet during a potential fall, but snowboarders aren’t so lucky. Whether it is falling forwards or backwards, it is a reflexive reaction for snowboarders to brace with their hands first. This is especially the case with beginners who have a propensity to spend a greater chunk of the day on their wrists and bums than on their feet!

Our tip: Splinting or bracing your wrists can help to prevent the hyperextension injury that is typical in snowboarding. This protection still allows you to have full function of the thumb and fingers, but keeps the wrist in a rigid position and away from harm. Yes, even when you fall!

If you’re looking for some options, our physiotherapy clinic carries two different braces. They could work perfectly for the hills this winter. You will likely even have these covered by your extended health benefits plan. Check out the feature picture to see what it might look like!

Tip #3: Strengthen your Stabilizers

From the perspective of prevention or “Pre-hab”, building up muscles that keep you balanced and centered prior to the season is a great injury prevention practice. Dislocations and ligament sprains … I am talking about you! Though most injuries in the sport of skiing or snowboarding seem highly traumatic in nature, they often begin with a loss of balance or stability at a joint. The muscles surrounding the major joints of the body that perform more of a stabilizing role than a moving role are vital for injury prevention.

Our tip: Add a stability component to your normal exercise routine. If you are a runner, plan a trail run instead of pounding the pavement next time you go out. If you workout in a gym, try to modify your normal routine by adding a balance component. Do more single leg activities and push off of unstable surfaces (i.e. bosu ball, swiss ball, balance cushion, etc.) to help prevent falls and injuries.

These three tips from our Physiotherapy team can prevent skiing or snowboarding injuries this season. So why not get more value from your punch card or seasons pass? If you have questions, give us a call and one of our therapists will provide a custom program for you. You can also book online by clicking here.

3 Useful Health Tips for Hard Times

3 Useful Health Tips for Hard Times

By: Devan Mercereau, Physiotherapist

There’s no denying it: the last 18 months of the pandemic have been a whirlwind for many of us. From the continuous announcements and updates, to the changes in restrictions, many of us have had to adapt throughout this time. We’ve gathered 3 useful health tips to help us get through harder times.

Why? Because having some sort of routine on a day-to-day basis can help us prioritize self-care, create better habits and even help with our mental health. There is no cookie cutter routine for everyone. Each of us have different lifestyles, goals, careers, and accessibility. That being said, there are a few components to your routine that can help change your health and make time for care.

Below, you will find 3 habits that can help change your health for the better:

1. Establishing a Sleep Routine to Get Enough Rest

Sleep is a key factor in our day-to-day health. It’s a major contributor to proper healing. Adequate rest can help to increase our moods and productivity throughout the day. It is important for us to get around 7-9 hours of sleep a night, which seems like an impossible amount to achieve sometimes! But, getting into the habit of waking up around the same time every day and going to bed at the same time can make you feel more rested. This usually means an alarm to wake you up in the morning. And one for your bedtime, too!

Additionally, limiting screen time prior to going to bed can help with a better sleep. Alternatives such as reading, audio books, journaling, or mediation are great ways to help wind down for a more restful sleep.

Finally, getting enough sleep can boost our energy levels, which ties into the next habit: having enough energy to get physical activity into our daily routine.

2. Add Physical Activity into Your Daily Routine

Making time in our routines for physical activity throughout the day plays an important role in our overall health and energy levels. The great thing about physical activity is that we can do it in so many different ways. Whether it is strength training, running, walking, biking, hiking, chasing after the kiddos, taking the stairs, or sporting activities!

Having a variety of physical activity can help us stay motivated and interested in any form of exercise. There are a couple things to consider when incorporating physical activity into our daily routine. Firstly, think about your goals or motivations. What are they? Secondly, what is your current level of physical activity? Is there something holding you back from being active? Talk to your medical doctor or pick up some exercise tips from a physiotherapist to help guide you in the right direction. With such a range of exercises, many of our physical activity routines will look different based on our goals, abilities, accessibility, and interests.

Even just 30 minutes of exercise a day can help improve or maintain your range of motion, muscle strength, endurance, and balance. All of these things are crucial to keep our bodies functional!

3. Nutrition to Nourish Our Bodies

Nutrition is another big part of our health. Healthy eating habits can help fuel us to exercise. They also play a role in a good night’s sleep. Getting the proper sources of carbohydrates, protein, and fats helps us regulate our energy. In turn, this can increase our moods, and allow us to stay strong and healthy. A balanced diet can also help lower risks of secondary medical conditions, such as type 2 diabetes, high cholesterol, and high blood pressure.

Following the recommendations on the Canada’s Food Guide is a helpful way to guide us into healthier eating habits. Each person will have different dietary needs based on their age, medical history, and activity level. To help incorporate healthy eating into your routine, try meal planning for the week. You can get the family involved to help carry the mental load, too. Having a plan ahead of time (especially for those with busy schedules) can help you stay on track with nutrition and routines.

If you have a lingering injury that is limiting you from being active, or you want to make more time for care, call Stride Physiotherapy in Red Deer anytime! You can also book an appointment online with one of our team members by clicking here.

Resources:

https://www.helpguide.org/articles/sleep/getting-better-sleep.htm

https://www.blurtitout.org/2018/11/08/mental-health-benefits-routine/

https://www.niddk.nih.gov/health-information/diet-nutrition/changing-habits-better-health

https://food-guide.canada.ca/en/

Getting to the Core of Low Back Pain!

Getting to the Core of Low Back Pain!

By Julia Towers, Physiotherapist

The lower back is one of the most common areas that we treat here at Stride Physiotherapy. Low back pain (LBP) is now the most common cause of lost time at work. This is potentially related to our increasingly sedentary lifestyle and prolonged periods of sitting.1 COVID and working from home have not helped us, either! As a Physiotherapist, I often hear of the ways that this limits a patient’s function and quality of life, so feeling better quickly is typically our main goal. Despite the fact that there isn’t a “snap of your fingers fix,” there has been a huge amount of research done for this area of the body, specifically in relation to the core muscles. Let’s take a look at what we can do to treat this nasty pain!

What Is the Core?

2

Your core is so much more than just that sought after 6-pack! Looking at the picture below, you can see that our bodies have many layers of muscle at the front, back, and sides. Not pictured are the pelvic floor and diaphragm muscles, which are also critical to core stability. Particularly important is a muscle called “transversus abdominis.” (TrA.) It is our deepest layer of abdominal muscle. I like to refer to this as our body’s natural back brace. Think of it as a corset that draws inward around the spine.

How Does the Core Relate to Low Back Pain?

The TrA muscle stabilizes the pelvis and lower back prior to movement of the body. Early work by Hodges and Richarson showed that in those with 18+ months of low back pain, there was delayed activation of the TrA muscle compared to those without LBP3, 4. What this means is that after long periods of pain, the deep stabilizers of the back have less control.

What Is the Best Exercise for Treating Low Back Pain?

Many studies have tried to tackle this question over the years and the main conclusion has been that compared to general exercise, core stability training is better for decreasing pain and increasing function in those with longstanding LBP in the short-term5. In the long-term, general exercise (eg. biking, walking, running, weight training, etc) was just as effective.


6

There are many ways to train core stability. Trust me, there is much more to it than just doing a pile of sit-ups and crunches. Actually, doing these typical core exercises will only strengthen the major mover muscles and miss true core stabilization all together. Being able to activate the TrA is the first step. Below is a fantastic exercise to start with!

    1. Lie flat on your back.
    2. Feel for the area about an inch inward from where your hip bones stick out at the front. (This is where your TrA muscle lies, deep down.)
    3. Breathe in. As you exhale slowly, think about drawing your belly button toward your spine and pulling your hip bones inward.
    4. As you do this, gently press your low back into the floor.
    5. You should feel a gentle, slow activation under your fingers.
    6. Work towards holding this pose for 5-10 seconds without holding your breath.

Although this may seem easy, it is very important and sometimes difficult to achieve correct form. I would highly recommend booking in with one of our Physiotherapists at Stride to fully assess your form, determine a plan, and learn this exercise. Once you can perform it, we start to add more functional movements and change the positions that you’re training in. Eventually this re-teaches the deep core muscles to “kick on” during routine and athletic activities before you move, lift, bend, exercise, and more. To book your appointment online click here.

Final Thoughts

This has been a lot of information, but I want to reassure you that your back is a very robust and resilient structure! Although we can’t blame one muscle for LBP, we do know that there can be some short-term improvements if we train the deep core stabilizers. Ultimately, the best thing for chronic LBP is getting moving. Change up your posture frequently, go for a gentle walk, and if there’s an activity you particularly love, let’s talk about getting you back to doing it!

Please consider seeing a physiotherapist who can help you keep your LBP at bay and assist you on your journey of healthy aging! We would do this with a combination of hands-on treatment, education, and exercise. Let’s break bad habits of motion, change fear related to movement, and build some self-efficacy!

Resources

    1. Lynders, C. (2019). The Critical Role of Development of the Transversus Abdominis in the Prevention and Treatment of Low Back Pain. HSS Journal, 15(3), 214-220. doi:10.1007/s11420-019-09717-8
    2. Build Your Core. (n.d.). Retrieved from https://us.humankinetics.com/blogs/excerpt/build-your-core
    3. Hodges, P. W., & Richardson, C. A. (1998). Delayed Postural Contraction of Transversus Abdominis in Low Back Pain Associated with Movement of the Lower Limb. Journal of Spinal Disorders, 11(1). doi:10.1097/00002517-199802000-00008
    4. Hodges, P. W., & Richardson, C. A. (1996). Inefficient Muscular Stabilization of the Lumbar Spine Associated With Low Back Pain. Spine, 21(22), 2640-2650. doi:10.1097/00007632-199611150-00014
    5. Wang, X., & Chen, P. (2014). Core Stability Exercise Versus General Exercise For Chronic Low Back Pain Meta-analysis. Medicine & Science in Sports & Exercise, 46, 505. doi:10.1249/01.mss.0000494982.79731.79
    6. Physitrack, “Transverse abdominis in hook lying”. https://ca.physitrack.com/exercises

Benefits of Prenatal Massage

Benefits of Prenatal Massage

By Cheyanne Heyn, Massage Therapist

Hello Everyone! I’m Cheyanne, one of Stride’s Registered Massage Therapists. I am trained in a variety of massage techniques, but I particularly love treating pregnant and post-partum mamas with Prenatal Massage. Read along in this blog to find out more about Prenatal Massage and if it’s the right fit for you!

What is Prenatal Massage?

In short, a prenatal massage is designed for people who are pregnant. Prenatal massages assist with the normal adaptations that your body goes through during pregnancy.

In a standard massage, you spend half the time on your stomach lying face-down. This is not possible with a baby belly, obviously! The other half of the time you’re facing up. This position is not advisable for extended periods of time during pregnancy, as it puts pressure on major blood vessels that disrupt blood flow to the baby. Additionally, it can make you feel nauseous! That is why during a prenatal massage, you are positioned with special cushioning and pillows to maximize your comfort and accommodate for your growing belly and breasts. You may even lay on your side with pillows for support.

What Are the Benefits of Prenatal Massage?

Research has shown that massage can help reduce stress hormones and loosen muscle tension in your body. Massages help increase blood circulation and keep your lymphatic system working at optimal efficiency. Example: reducing swelling. Regular prenatal massages are able to do more than just help you relax. They can help relieve:

– Insomnia (sleep issues)

– Joint pain

– Neck pain

– Hip and pelvic pain

– Low and mid back pain

– Leg cramping

– Sciatica

– Swelling and edema in hands and feet (if not caused by preeclampsia)

– Headaches and migraines

– Sinus congestion

– Compression syndromes (Carpal Tunnel and Thoracic Outlet)

How Often Should I Get a Prenatal Massage?

Frequency of massages vary from case to case. If we are mostly treating stress or general tension, we recommend monthly massages. In the event we are treating pain or a specific condition, frequent massage is important. Additionally, a treatment plan between your massage therapist and yourself is wise.

During the third trimester, frequency can increase to weekly or bi-weekly in order to help prepare the body for labour and delivery.

Are Massages Safe During Pregnancy?

Yes! Massages during any point in pregnancy is safe. There are massage therapists that will not do prenatal massages for varying reasons. However, there have been no studies or research proving that massages can cause labour or miscarriage during a healthy pregnancy. There are trigger points in the body that are linked to the uterus, and these trigger points must be avoided. This is another reason why it’s important to see an experienced Registered Massage Therapist in Red Deer for prenatal massage.

Please be sure to discuss any complications or health issues with your Massage Therapist before your treatment to make sure it is safe for you and the baby. If you’re still wondering about Prenatal Massage or how we can help you get to the finish line feeling your best, feel free to give us a call or email. If you think this treatment could be right for you, book an appointment online by clicking here.

The Top 2 Exercises to Alleviate Runner’s Knee

The Top 2 Exercises to Alleviate Runner’s Knee

By: Eric Walper, Physiotherapist

Summer is upon us, and we are quickly moving into the peak of the running season. With the possibility of running a race in the upcoming months, there comes an increased intensity and volume of training. At the same time, we are starting to see an increased prevalence of running related injuries. Runner’s Knee, or IT Band Friction Syndrome, is a common running injury that we usually see as our running athletes continue to push their volume and bodies into unfamiliar territory. Many of us have heard of the IT band. This is a dense piece of connective tissue that runs down the outside of the leg from the hip to the knee. It provides the structural support for the outside of our thigh and that stability aids us in side-to-side motion. When the IT band gets hurt, Runner’s Knee occurs.

What is Runner’s Knee and What are the Common Causes?

Runner’s Knee is defined as an inflammation of the IT band as it crosses the outside of the knee joint. It is due to the repetitive motion often seen from prolonged and/or high intensity running activities. The three most common contributors to this condition are:

– Inadequate or improper footwear

– Decreased strength in the glutes (butt)

– Instability in the ankle

In particular, we consider the last two common contributors during our physical rehab or exercise prescription for Runner’s Knee. As a result, we look at exercises that will add strength to the hips above the knee, and stability to the ankle below the knee.

Two Exercises to Alleviate Pain from Runner’s Knee

Below, you will find my two favourite exercises I recommend to someone who is suffering from Runner’s Knee.

  1. Strengthen Your Hips

When strengthening the hip, one of our commonly assigned exercises is a single leg squat. Here are the steps to perform this exercise:

– You want to stand 2-3 feet in front of a chair, and face away from it.

– Place one foot on the chair behind you, and shift your weight onto the target leg in front of you.

– Begin by lowering your hips and back, while maintaining your knee directly in line with your foot. Try not to allow your knee to collapse inwards or travel too far forward over the front foot.

– Perform 10-12 reps in 2-3 sets as part of a rehabilitation program.

  1. Work on Ankle Stability

To enhance the stability of the ankle, we incorporate single-leg balance exercises. One of my favorite exercises is doing a single leg stance while moving the opposite leg. Here are the steps to perform this exercise:

– Shift your weight to the target leg, and slowly lift the other leg completely off the ground.

– When you are sure of your balance, begin spelling the alphabet, or make large circles with your leg in the air. The leg that you are balancing on will have to work hard to keep you stable while you move your other leg.

– Perform this exercise for 20-30 seconds for 2-3 sets.


Next time you notice pain on the outside of your knee, or have a suspicion that you too could be experiencing Runner’s Knee, try these two exercises to alleviate your pain. If all else fails, stop by the clinic and book an appointment with one of our experienced physiotherapists to get to the root of your problem. You can book an appointment online by clicking here.

3 Tips to Prevent Golf Injuries This Season

3 Tips to Prevent Golf Injuries This Season

By: Blake Goehring, Physiotherapist

Golf… the predominant love-hate game that we play in the summer. The sport is frustrating enough to play that you do not need any golf injuries amplifying your struggles. The following is a short guideline to follow to keep yourself hitting the long-ball and “enjoying” the game of golf this season!

Tip #1: Grease the Hinges

A lot of people don’t look at golf as an overly athletic sport, but the golf swing requires movement of more joints than most sports do! Life circumstances are not exactly helping this situation. E.g., between aging, office work, and general sedentary lifestyles, it is easy to become stiff. It is important that before you unload all your stress on your golf ball, you try to warm up your shoulders, core, and hips. Below are my three favourite warm-up stretches for golf:

  1. Arm Circles

–  Start with small dinner plate size circles. As you warm up, progress to full overhead circles.

– Perform for 30-60 seconds.

– Change directions and perform for another 30-60 seconds.

  1. Trunk and Hip Rotations

– Put your golf club behind your head and hold onto it with your hands.

– Start rotating side to side, then gradually rotate further as tolerated.

– Making sure not to bend through the spine, but at the hips to bend your upper body forward. Continue to rotate from here to simulate the golf swing. Don’t be afraid to shift weight back and forth through your feet while doing so.

– Perform 30-60 seconds.

  1. 90-90 Exercises for the Hips

– Start by sitting with one leg in front of you, your knee bent to 90 degrees, and the inside of your ankle pointing up.

– Your other leg will be to your side, again with the knee bent to 90 degrees and the inside of the ankle pointing towards the ground.

– Slowly shift your weight forward, hold for 1-2 seconds and then shift your weight backward for the same amount of time.

– Continue these weight shifts for about 30 seconds and then switch the starting leg positions and repeat for another 30 seconds.

Tip #2: Do Not Strangle Your Club

One of the most common injuries we see from golfers is elbow issues from the repetitive nature of the golf swing. The harder you grip your club, the more your forearm muscles must work. These problems can start with:

    1. Playing a lot of rounds (high volume).
    2. Taking large divots or making hard contact with the ground.

Loosening your grip can help you have a more fluid swing and prevent excessive load on your forearm muscles that could eventually lead to elbow pain.

Tip #3: Hip vs. Back Movement

The great Chubbs Peterson once said, “It’s all in the hips.” All movie quotes aside, this especially rings true for our senior golf population. Most back strains that occur in golf come from the inability of a person to bring their hips through, which translates unnecessary force to the back. Both of your hips need to rotate inward or towards the direction you are hitting the ball. This is to keep your spine in a good place while swinging. How do you know if this is the case for you?

Our physical therapy team can help to identify if your hips (or any other body parts) are not moving properly and provide some strategies to keep your back and body healthy over this golf season! Feel free to book an appointment online by clicking here.

It’s National Physiotherapy Month!

It’s National Physiotherapy Month!

By Jennifer Goehring, Physiotherapist

Well, it’s that time of year again! May is National Physiotherapy Month and you guessed it: we are celebrating! This is our 3rd year of annual fundraising for an initiative that is near and dear to our hearts.

Giving back to the Red Deer community has always been a primary mission of the Stride team. In light of that, every year, we partner with an organization to fill a need that directly impacts Central Albertan, including the patients we connect with everyday.

How We Are Giving Back to the Red Deer Community

This year, we have partnered with The Lending Cupboard in Red Deer! We are working together to donate an important piece of equipment that benefits both our clients and the community. The Lending Cupboard is a charity in Red Deer that lends a variety of medical and rehabilitation equipment to anyone in need. It was originally founded in 2006 in someone’s garage, due to their vision of providing everyone access to medical equipment at no cost. Today, this organization now operates with over 15,000+ pieces of medical equipment in 6,500 square feet of operation. Pretty amazing for what started in a garage, right?

Accessibility Matters

Most people have suffered an injury at some point in their life. As a result, many of them have needed equipment such as crutches, a wheelchair, an air cast, and more. All of these happen to be expensive for their short-term use. In addition to cost, this type of medical equipment often takes up extra space in our homes, and then never get used again! It’s why we love The Lending Cupboard’s vision of providing access to equipment for anyone in need, with the added bonus of recycling and reusing quality products.

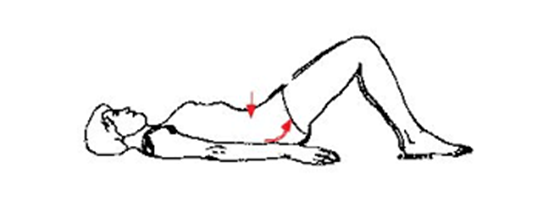
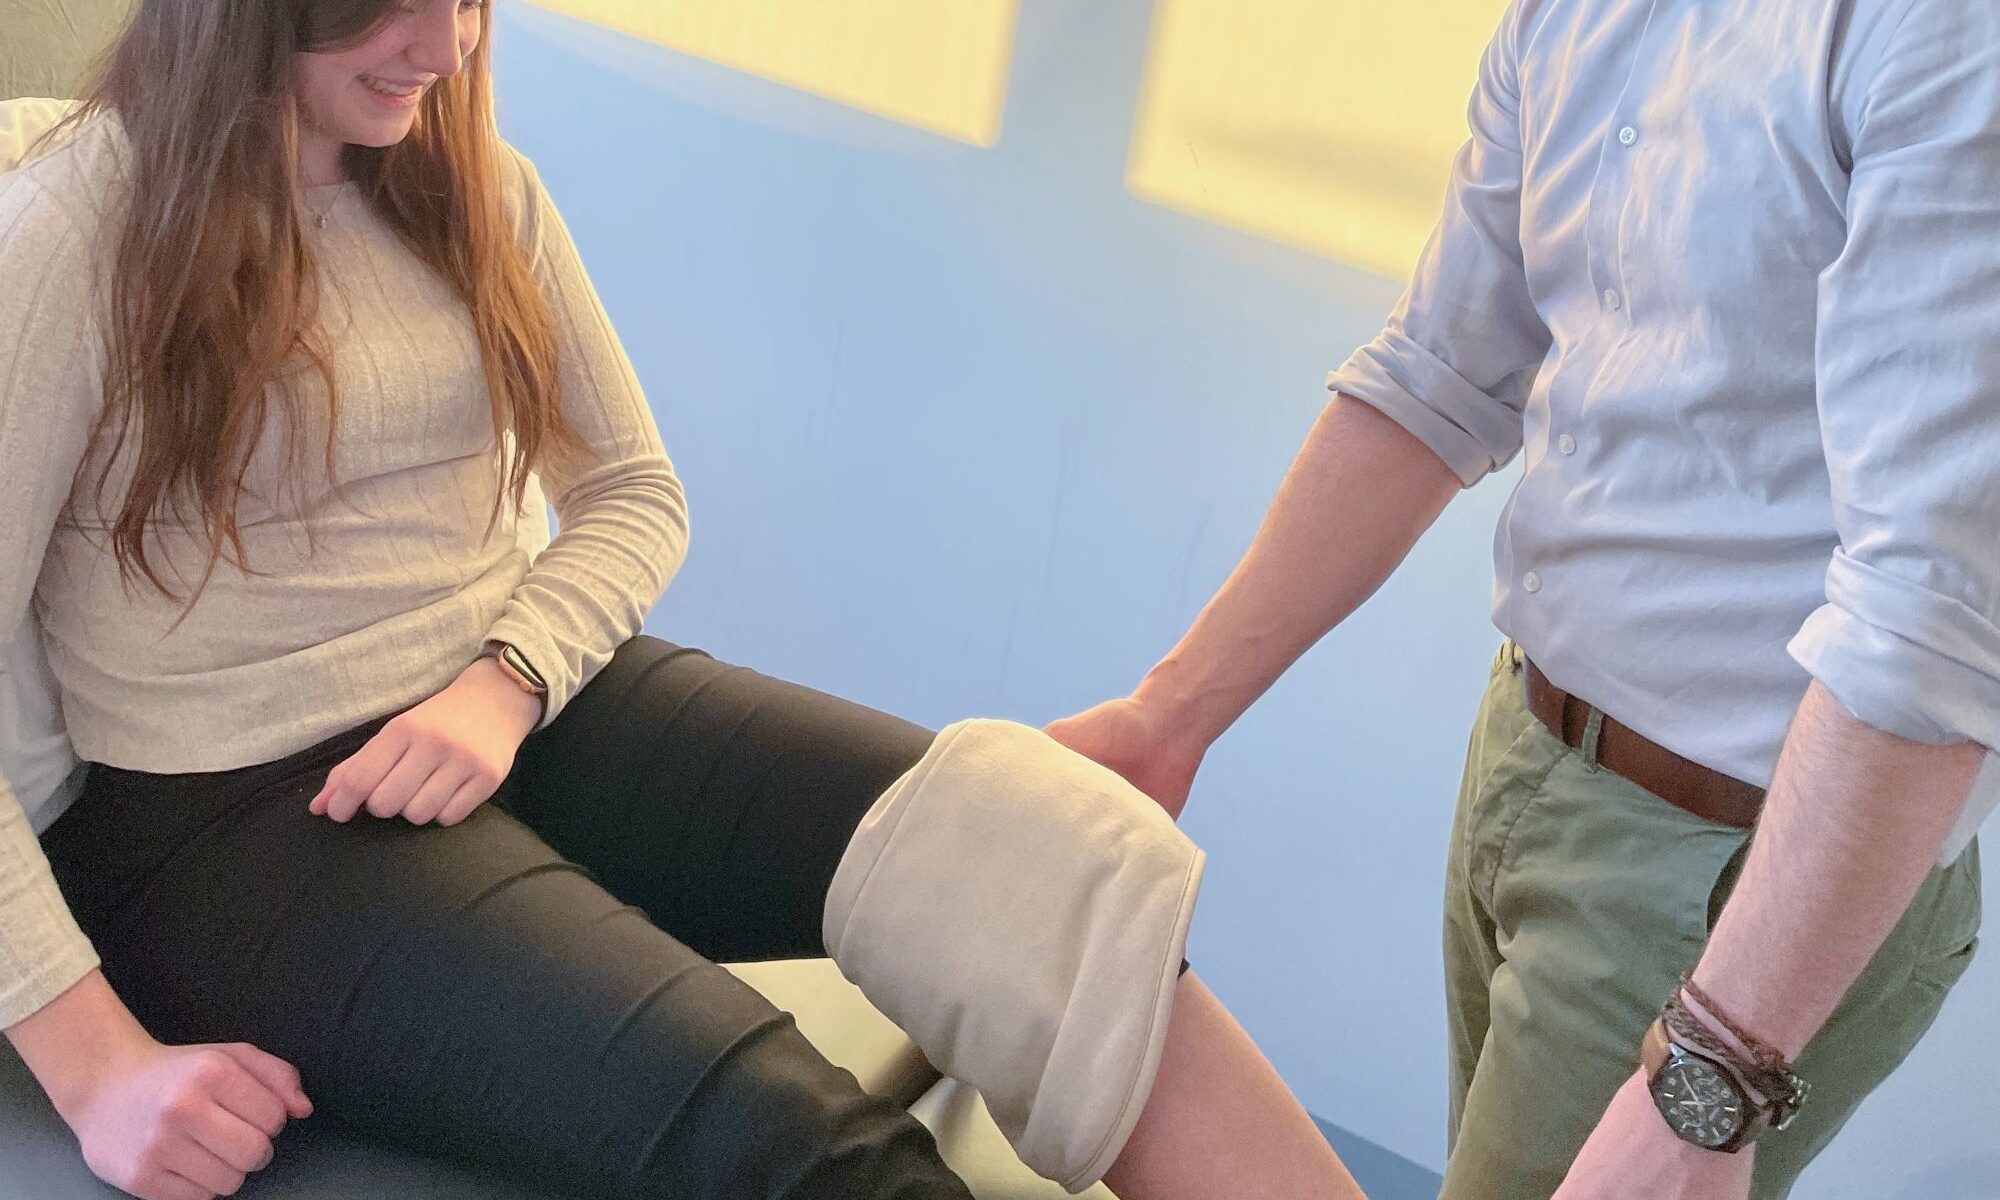
What is a Cryocuff Machine and How Does it Work?

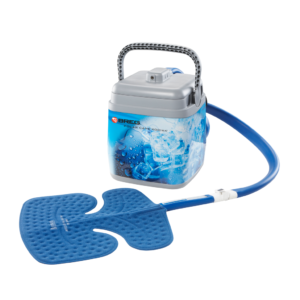
In 2020, Janice (from The Lending Cupboard) spoke about the need for a piece of equipment called a cryocuff. A cryocuff is an ice unit that provides cold compression around joints. It looks like a mini cooler with a hose and ice pack on the end of it. Cryocuffs aid in quicker recovery from the pain and swelling after surgery. They are particularly useful and strongly suggested by medical professionals, following surgeries like a Total Knee Replacement and ACL repair. To purchase one outright costs close to $350!

So What Do We Do?

At this current time, The Lending Cupboard has 32 total cryocuffs in their inventory. In the first quarter of 2021, they loaned out this machine 81 times. At any given time, there is often a waitlist of 2-10 people! This waitlist was made longer during COVID-19, when surgeries were put on hold. The Stride team has committed to donating an additional 3 units to help to address demand. Following this donation, The Lending Cupboard would love to have another 5 units. We are hopeful that this year is just a starting point for how we can help this organization!

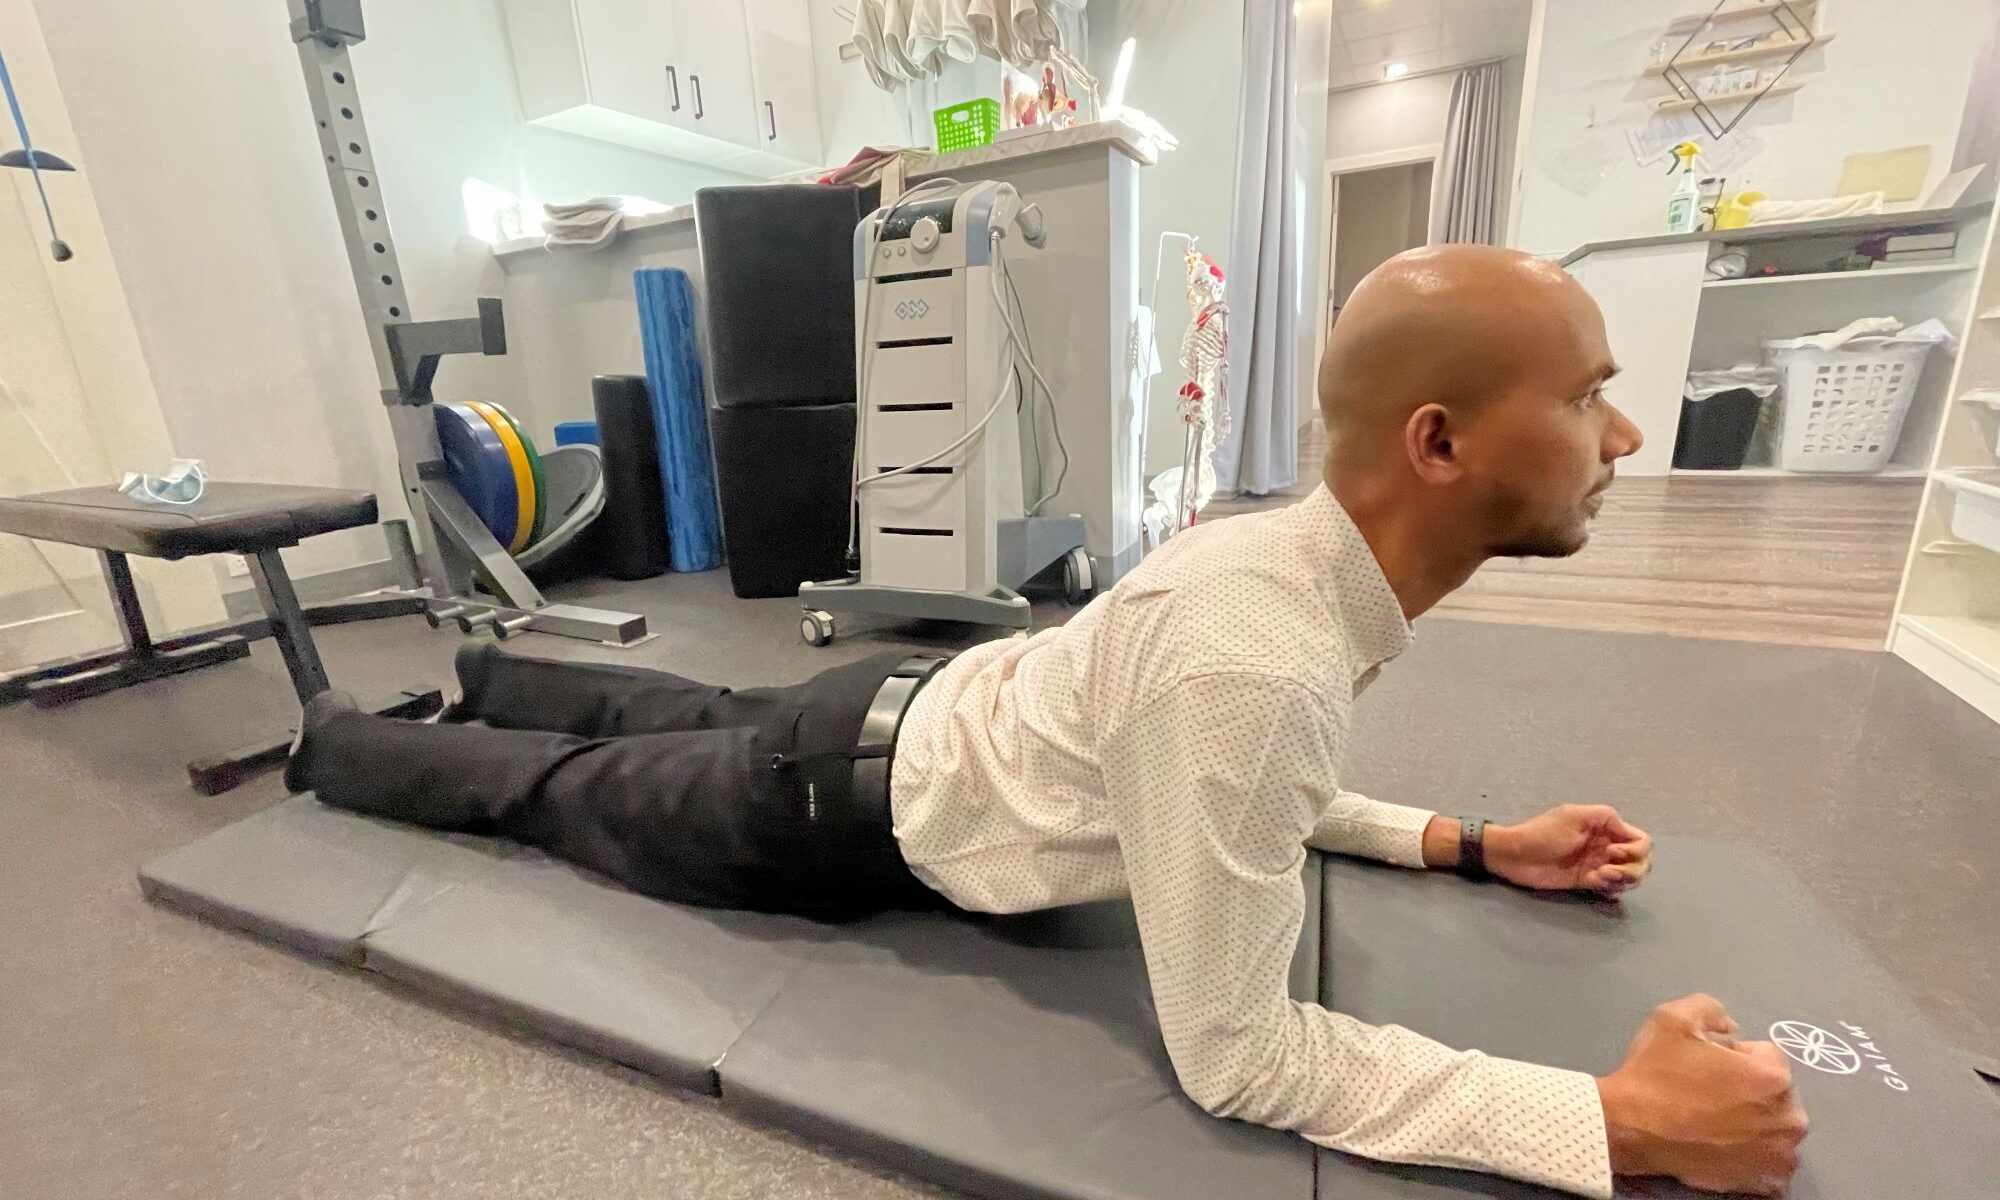
Why Our Team is so Passionate About Physiotherapy and Rehab

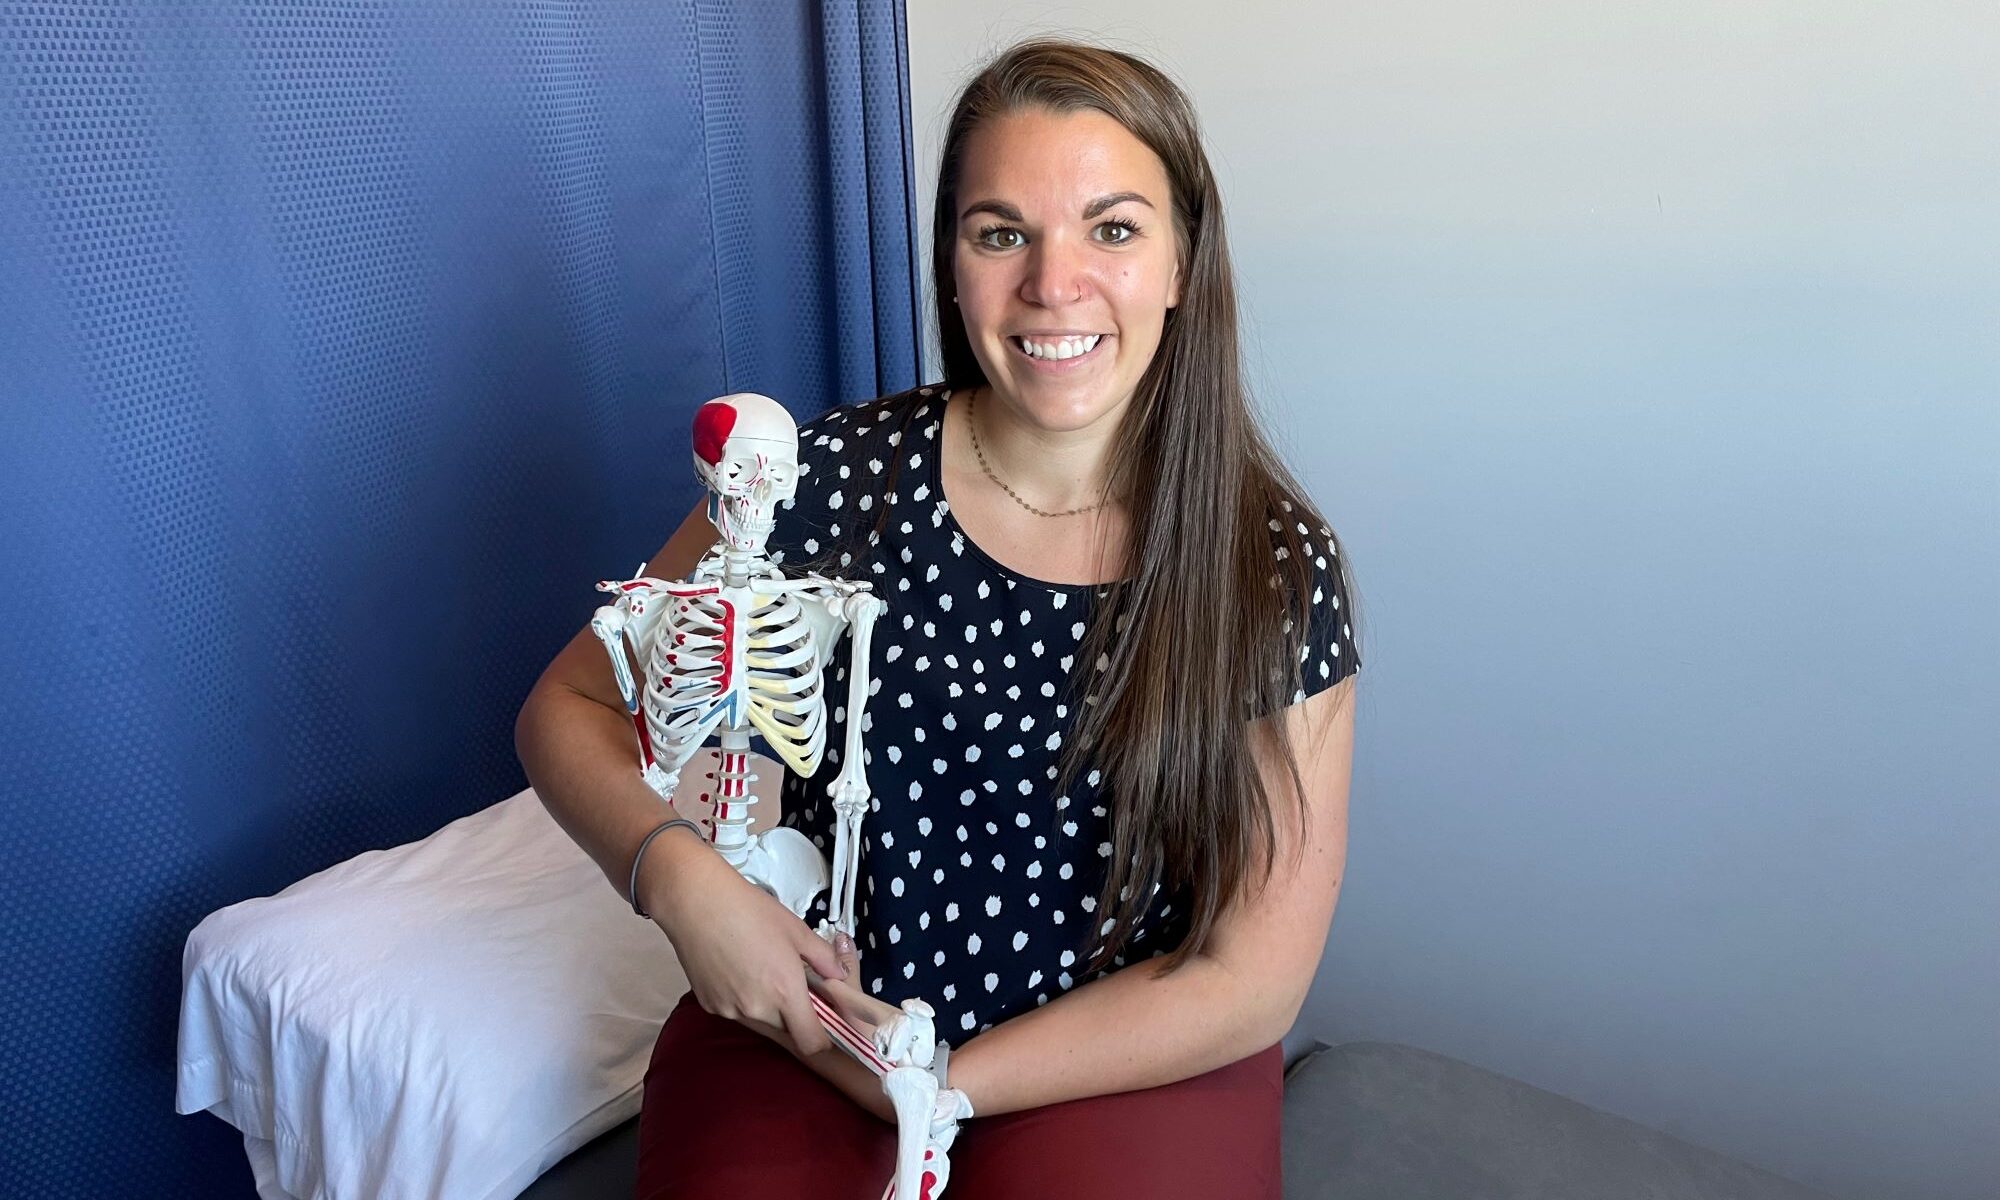
Now that we have shared one of our passion projects for this year, here are some words from our team. After all, it is National Physiotherapy Month! Our practitioners have their own motivators to provide you with exceptional care!

We asked each of them: “What does your profession mean to you? Why are you so passionate about what you do?” Below, you will find some great insight from our team!

Physiotherapy: Pay it Forward and Crush Goals

My passion for physiotherapy started by getting injured during athletics. I had a rehabilitation team help me fully get back to my activities. My motivation for going to work everyday is to pay forward the same kindness that my therapists extended to me in the past.

– Blake Goehring


Physiotherapy: Treatment Goes Beyond the Clinic

To me, physiotherapy means restoring, maintaining, and improving people’s ability to do what they love most. This could be playing a sport, keeping up with grandchildren, or managing daily life! Physiotherapy provides tools and knowledge for patients to engage in their well-being and recovery. It is much more than what is done within the clinic walls! Above all, I love getting to work alongside amazing patients.

– Julia Towers

Physiotherapy: Education and Rehabilitation

Physiotherapy is the means in which I get to engage with my community to make meaningful, healthy change. I am passionate about Physiotherapy because of my role in remediating and promoting healthy lifestyle choices. Not just for my patients, but also my friends and family.

– Eric Walper

Athletic therapy helps others achieve living a healthier and pain-free lifestyle. Treatment, as well as the patient learning about their body, is how! I am passionate about what I do because it gives me an opportunity to relate to others, which then builds a trusting relationship. I love that we work together toward injury rehabilitation.

– Morgan Walper

Physiotherapy: Get Back to What You Love

To me, physiotherapy is about helping people do the things they love. It’s about improving their quality of life by making changes in their overall function. I am passionate about my job! Whether it is sports, family, traveling, or more, I just want my patient to be able to enjoy their life again.

– Devan Mercereau

One of my favourite aspects about my job as a Physiotherapist is being able to connect with people from all walks of life. I get to help them achieve their health goals! Physiotherapy is all about perpetual movement. As a result, it keeps people active to enjoy any activity they love!

– Jen Goehring

Physiotherapy: We Love Massage Therapy, Too

Massage Therapy is the healing of the body and mind through touch. I’m passionate about massage because nothing feels more rewarding than helping a person heal. As a result, they can feel amazing again!

– Cheyanne Heyn

My passion for massage therapy comes from the people I get to spend time with everyday. I value the relationships I have created. Knowing I have been entrusted with their care and wellbeing means a great deal to me. I love that I get to call massage my career and that I’m able to help along the way.

– Krista Tait

In Conclusion

If you want to learn more about any of our clinic updates and initiatives, feel free to follow along with us on social media! Check out @stridephysiotherapy and click here to book with one of our awesome team members!

Bowen Therapy: a Beautiful Treatment

Bowen Therapy: a Beautiful Treatment

By: Krista Tait, Registered Massage Therapist

I’m Krista, one of Stride’s Massage Therapists. Today, I’m sharing about a special therapy that is part of my practice! While many of you may think about the more traditional forms of massage, you might not have heard about this one. So, let’s talk about Bowen Therapy, and then we’ll look at a variety of conditions it can help with. In the end, you might be surprised by what you learn!

What Is Bowen Therapy?

Bowen Therapy is based on the work of the Australian therapist, Tom Bowen. This is a massage technique that focuses on specific movements of muscle and connective tissue, in order to treat a wide range of conditions and injuries. Bowen Therapy addresses every system in the body, including internal organ systems, as well as the musculoskeletal structure. These gentle movements send neurological signals to the brain, which then responds with impulses that realign the body. Respecting the feedback loop between your brain and body is essential for your body to restore its own natural balance.

Who Can Bowen Therapy Help?

It is appropriate for all ages, from babies to the elderly. In brief, it is manual, gentle, and non-invasive!

What Conditions Does Bowen Therapy Treat?

Bowen Therapy often steps in when other modalities have failed. It provides significant relief to patients who suffer from the following symptoms:

      1. Muscular and skeletal problems in neck, shoulder, hip, knees, ankle and back. This includes sciatica, whiplash, and fibromyalgia.
      2. Frozen shoulder, tennis and golfer’s elbow, and carpal tunnel syndrome.
      3. Problems with posture and body alignment.
      4. Migraines and recurring headaches.
      5. Bell’s Palsy, Multiple Sclerosis, Parkinson’s Disease, and issues resulting from a stroke.
      6. Respiratory problems including asthma, bronchitis, and hay fever.
      7. Sports and work-related injuries.
      8. Digestive conditions, such as kidney problems, constipation, colic, IBS, indigestion, diverticulitis, colitis, and Crohn’s Disease.
      9. High blood pressure.
      10. Arthritis.
      11. Hormonal and gynaecological conditions. In essence, pregnancy and fertility problems, infertility (male and female), PMS, breast lumps, menopause, and more.
      12. Stress management, fatigue, and sleep problems.
      13. General relaxation.
      14. Pre-op and post-op recovery time.
      15. Bedwetting.
      16. Anxiety and depression.

What Does a Bowen Treatment Look Like?

Treatments are one hour long, and are conducted every 7-10 days. The body continues to process the treatments for 5-10 days after. In order to be effective, it is recommended that you do not see other practitioners until your entire treatment is complete.

How Many Visits do I Need?

Minor problems can be resolved in just one session with a massage therapist, compared to more complex problems that sometimes require 4-6 sessions. Additionally, some of these issues may require routine visits to help the body heal.

If you’re still wondering about this technique and others, feel free to give us a call. If this sounds right for you, then we invite you to book an appointment online by clicking here.

References

(1) Dr. Manon Bolliger ND, DHANP, RBHP (2008)

(2)Wanda Parks RMT, RNCP, RBHP (2008

Guest Blog: 6 Tips for Recovery After Rehabilitation

Guest Blog: 6 Tips to Recover After Rehabilitation

By: Brittany and Andrea, Founders of GymClass

Hi! We’re Brittany and Andrea, the Founders of GymClass! GymClass is our online fitness platform which we have created to combine our knowledge and training with our love of teaching, all for you. Today we’re discussing 6 tips for recovery after rehabilitation. We have designed this space as a fitness program where we take out all the guesswork and give you a progressive and intentional workout plan.

If your physiotherapist or doctor has given you the green light to start moving in recovery after rehabilitation, then we’ve got you covered. All you have to do is show up and follow along!

We were so thrilled when Jen asked us to do a guest blog post for Stride. Thanks for hangin’ with us for the next few minutes, and don’t forget to read to the bottom to discover our special deal!

What’s Next?

Do you want to know something crazy? Not everyone knows what it’s like to live pain free. If you haven’t experienced a proper functioning body, where you are moving well as a whole, you might not even know what it is like to feel that good! If you’ve never had to rehabilitate an injury, work on muscle imbalance, improve posture, or correct years of incorrect gait patterns, you’re lucky. You may not realize that movement is something we take for granted. In fact, movement is a gift to enjoy and work on every single day.

Many of you are reading this because you have a goal to create pain free movement in your daily lives. You work (or want to) with a physiotherapist to correct injuries and strengthen your body, in order to return to normal function. You’ve done all your sessions and your homework exercises, but now what?! You’ve started this beautiful journey, and we want to help you continue. Movement is self-love. Showing up for yourself is self-love. Prioritizing feeling good in your body is self-love.

Maybe you’re recovering from an injury, or starting a workout program for the first time. Maybe you are getting back to your regular exercise. Whatever you’re doing, it is important to build a strong foundation so you can continue to progress.

We have six principles that we use in GymClass that we want to share with you to help you build your strong base to move better!

(All of these principles are covered in our FoundationsClass series on our online platform).

Use Your Breath

We know this sounds simple, but it is one of the most overlooked components of exercise. Using your inhale and exhale properly helps to deepen your core work, keep your heart rate under control, and protect the internal structures of your body. Inhale to prepare, fill your diaphragm in a 3-dimensional way, and exhale on the working part of the exercise to turn on those deep core muscles.

Stabilize Your Shoulder Girdle

A stable shoulder is so important! To prevent injury and ensure you are working the goal muscles, we must first set our shoulder blades. Create width across the back at the shoulder blade (without pinching), and create openness or flatness across the front. Now your shoulder is protected and ready to move!

Engage That Core

To do this we need to hit a few very important cues. Close the rib cage down as if we were connecting it to the hipbones. From there we lift up on the pelvic floor, drawing those deep transverse abdominals up (like an elevator) and into the spine. Now add a light squeeze of the glutes, and that core is fired up and ready for movement. The core is your powerhouse. By engaging the core first and foremost before any exercise, you provide a safe base for movement.

Stabilize Your Pelvis

Your pelvis can be set in various ways:

  • Neutral (hip bone over pubic bone)
  • Anteriorly tilted (hip flexors lengthen, hip extensors shorten)
  • Posteriorly tilted (hip flexors lengthen, hip extensors shorten)

Starting in a neutral spine will help you maintain the proper curvatures of your spine, while having the least amount of stress on your joints.

Use Those Glutes

Your glutes affect everything! We need strong glutes to prevent movement dysfunction, pain, and injury. So, squeeze that bum! Glute strength is essential to aid and build strength in your lower half and core, while working to prevent low back pain.

Hit All Components of Fitness

We need to be well rounded to be a good mover. This means you need to be training for aerobic and anaerobic cardiovascular endurance, muscle strength, muscle endurance, as well as flexibility. Each component will complement the next. The goal is to be a lifelong mover and to do that we need to take care of our body across the board.

When you create a strong base of both the understanding and principles of movement, you are setting yourself up for success in any fitness
programming. You are moving towards a stronger, healthier you. We teach and reinforce these principles in every single session at GymClass. We believe in the power of intentional movement for life!

Teaching people how to move with confidence and strength is not something we take lightly. This is an honour for us, and we invite you to join us for your movement journey. Please enjoy a MONTH FREE of GymClass on us! To redeem, all you have to do is email hello@gym-class.ca and mention Stride. We meet you where you are and push you to be stronger. Let’s do this together.

-Brittany & Andrea

Click here to check out GymClass’ website for more information.